27x Import georef raster
This tool import common image format associated with a world file that georeference it or geotiff file that embed georeferencing informations directly in tiff tags.
Worldfile
A world file is a plain text file used to georeference raster map images. It describes the location, scale and rotation of the map.
The world file extension can be *.wld or must be respect one of these conventions:
| Image extension | World file extension |
|---|---|
| tif | tfw / tfwx / tifw |
| jpg | jgw / jgwx / jpgw |
| bmp | bpw / bpwx / bmpw |
| png | pgw / pgwx / pngw |
A worldfile has six-line with decimal numbers on each.
| Line number | Parameter |
|---|---|
| 1 | pixel size in the x-direction in map units/pixel |
| 2 | rotation about y-axis |
| 3 | rotation about x-axis |
| 4 | pixel size in the y-direction in map units (always negative) |
| 5 | x-coordinate of the center of the upper left pixel |
| 6 | y-coordinate of the center of the upper left pixel |
If the world file has rotation parameter you can still correctly import it on a plane or on a mesh but not as background.
The addon offers different ways to import a raster image map
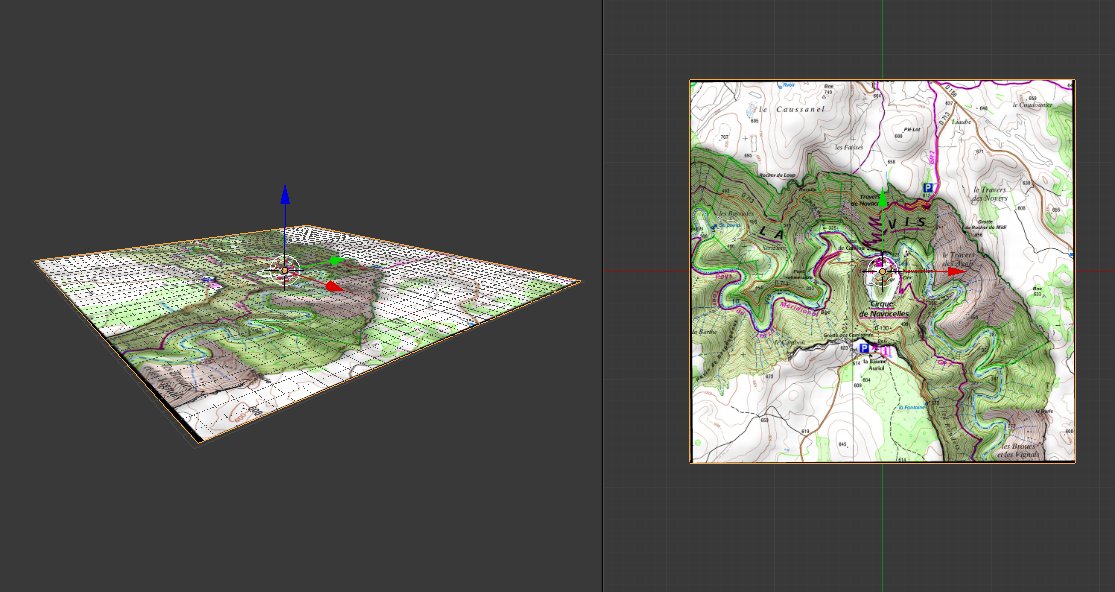
Import on a plane creates a new plane mesh that match the geographic position of the raster. This mesh is then textured by UV mapping with the raster image.
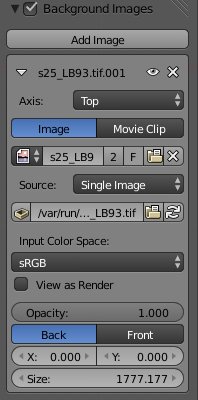
Import as background image adds the raster to the 3D view image backgound reference. It don't create any mesh.
Import on a mesh can be used to automatically UV map the raster on an existing mesh.

Typical workflow consists to import a points cloud or contour lines shapefile
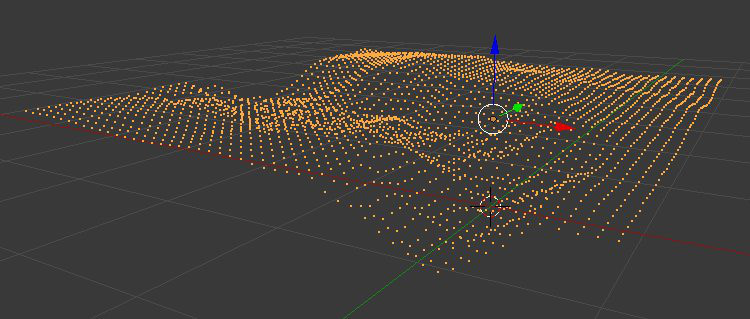
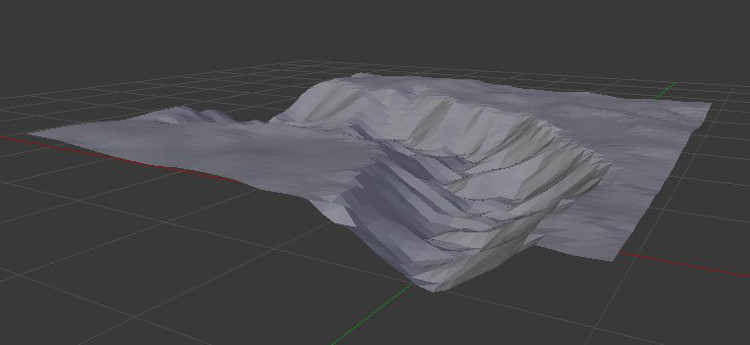
Then create the terrain mesh by triangulation.
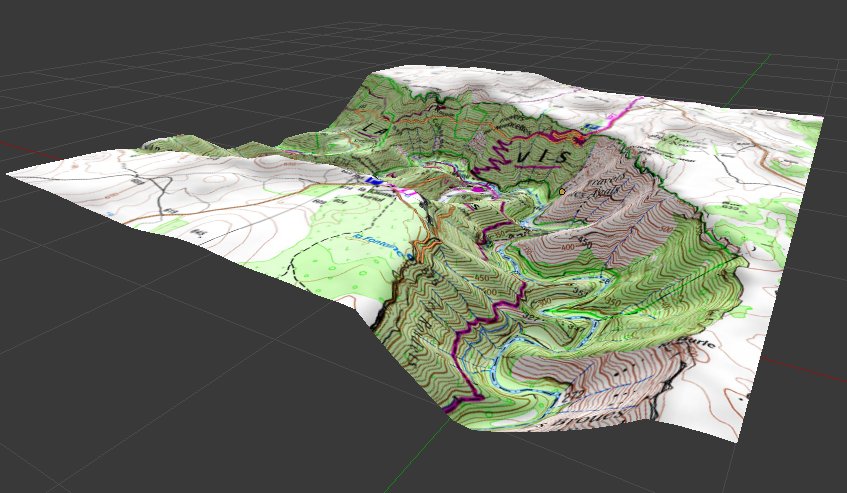
And finally apply a map texture
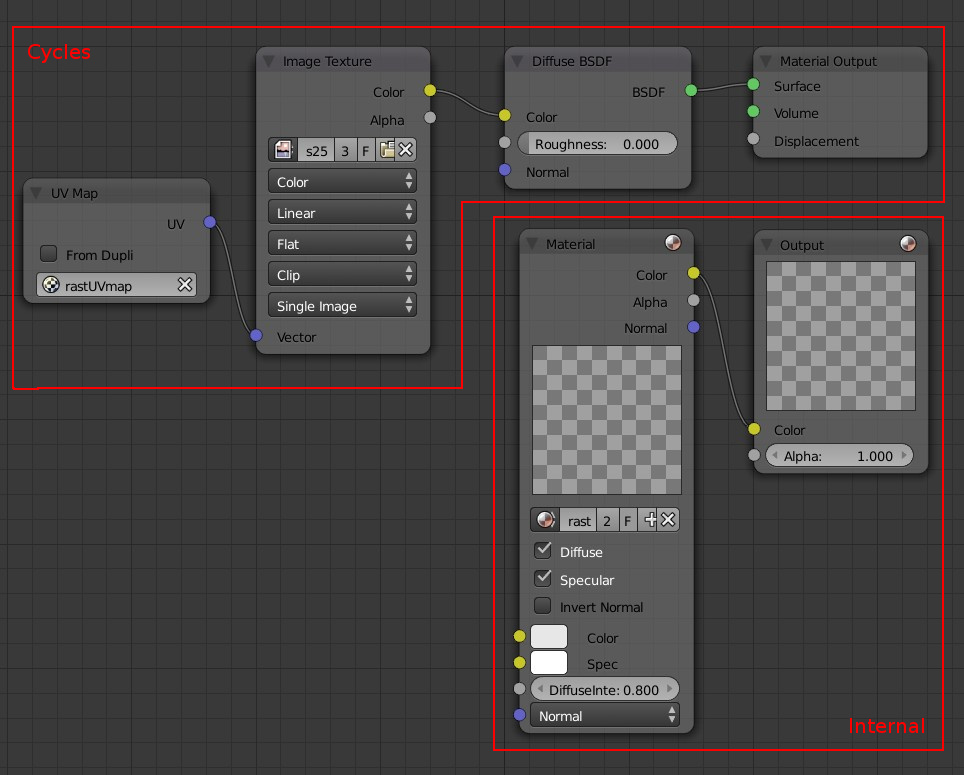
Material node setup
The raster is applied on mesh as a material texture. This material is setting via shader nodes for both Blender Internal and Cycles engine.
Troubles
-
If you don't see any texture on the mesh, try to config 3d view display and shading properties:
- Switch to texture mode
- Tick Textured solid in shading properties panel
-
If the imported image appeared fully black, try to config. the light according to the scene (for example try the sun light type)
-
Because the scene can be very large, don’t forget to configure camera clipping distance according to the scene. If you still see black faces error on render image after setting clip end distance try to set the clip start distance closer to the scene, it will help Blender to improve vertex position according to the Z depth of the camera.