Example of reading the HX711 24-bit analog-to-digital converter and a load cell sensor on an ESP32-C3 using Rust
- ESP32-C3
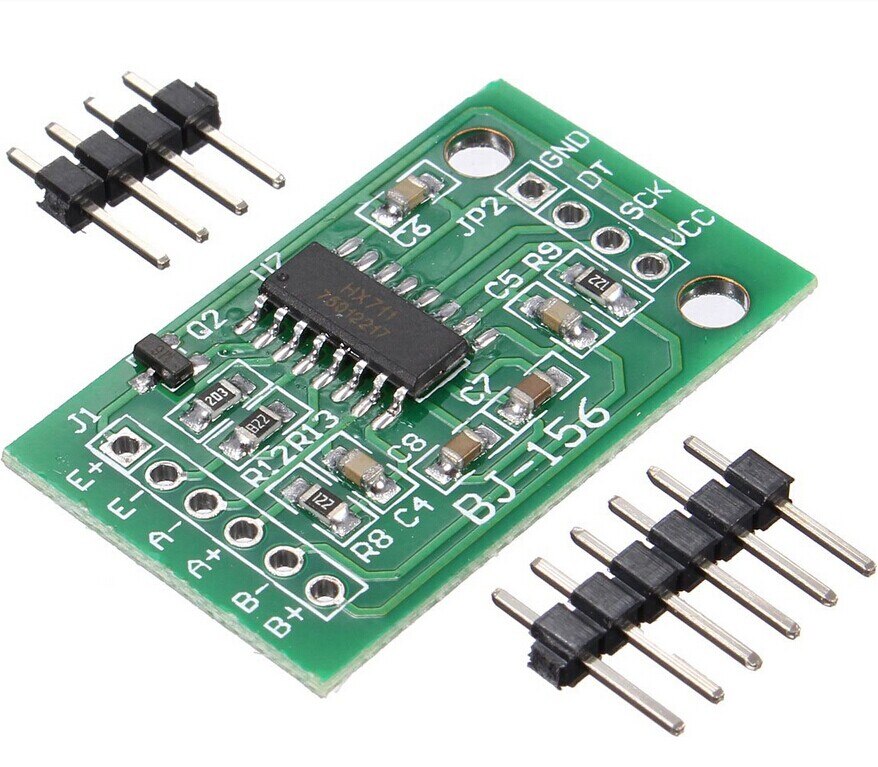
- HX711
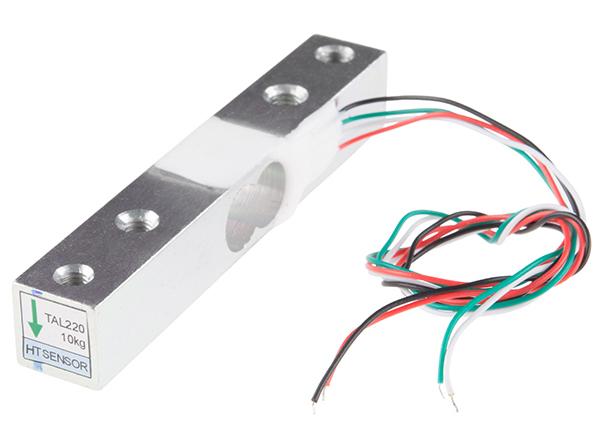
- Load cell
- Breadboard
- Jump wires
- USB-A to Micro-B cable
- Weighing acrylics
Step 1: solder the load cell wires to the HX711:
- Red to E+
- Black to E-
- White to A-
- Green to A+
Step 2 (optional): screw the weighing acrylics to the load sensor.
Step 3: solder headers to the HX711's GND, DT, SCK, and VCC.
Step 4: attach the HX711 to the breadboard (with its headers).
Step 5: attach the ESP32-C3 to the breadboard (with its headers).
Step 6: using the jump wires, connect the ESP32-C3 to the HX711:
- 3V3 to VCC
- GND to GND
- GPIO 2 to DT
- GPIO 3 to SCK
Note: you can use any available GPIO pins for DT and SCK, but remember to change the code accordingly.
Step 7: using the USB cable, connect the ESP32-C3 to your computer or laptop.
The final setup should look like this.
Step 1: follow these instructions to setup the development environment.
Step 2: execute cargo run on the command line (to build, flash, and monitor). Note: on Linux, you may have to fix a permission issue.
Step 3: calibrate the load cell following these instructions (you can ask ChatGPT to do the math).
If the universe conspires in your favor, you should see an output like this (after applying pressure on the load sensor):
I (78145) rust_esp32_hx711: Weight: 0 g
I (79145) rust_esp32_hx711: Weight: 45 g
Let me know if I skipped any steps.