Who this repo is for:
Newbies 👶
We maintain this repo to simplify the setup and installation process as well as user experience for newcomers. We try to break down barriers to entry and make it possible for creative people of all backgrounds to be able to use state-of-the-art image generation models.
Stakeholders 👩💻
This repo is primarily focused on simplifying the setup process and UX. In addition to that, there are some unique features sprinkled in 🧂List of features and changes compared to Basujindal's Optimized Stable Diffusion:
- easier to use CLI
- animation.py
- readme for non-technical people
If anything below doesn't work, hit me up on Twitter (my DMs are open) 🤗
If everything does work, consider buying me a coffee ☕
What you'll need:
- Windows 10 or 11
- decent NVIDIA graphics card (about 4 VRAM and more)
- ~15gb of disk space (preferably on an SSD)
On an Apple Silicon (M1, M2) Mac? Check out this guide
Let's download some stuff.
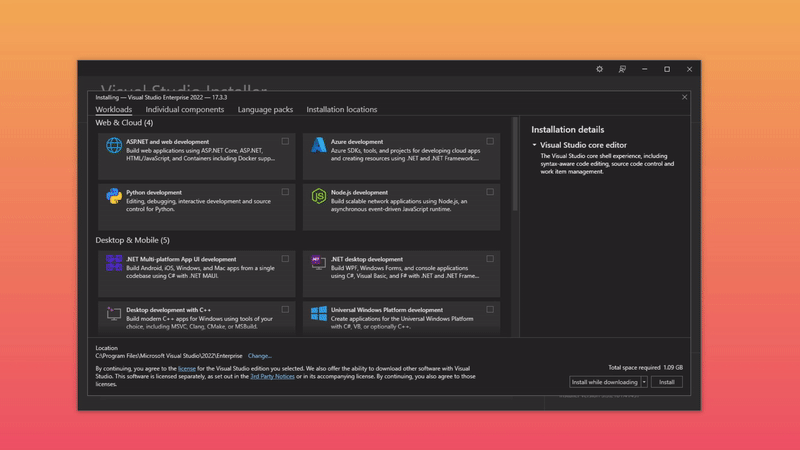
Download and install Visual Studio with "Desktop Development with C++" workload
Download and install CUDA drivers
Download and install Visual Studio Code
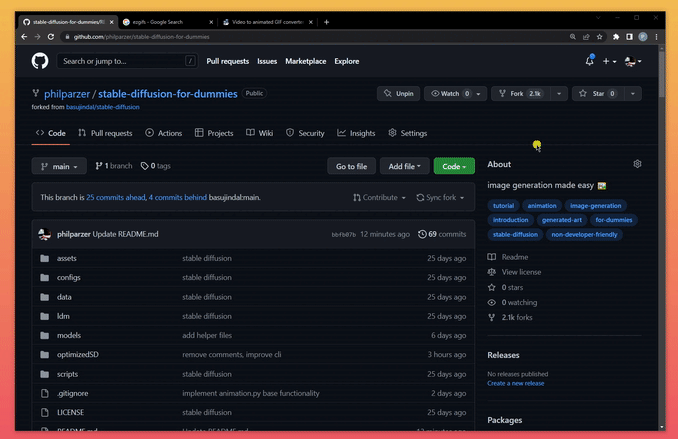
- Download this repo as .zip
- unzip it in an appropriate location (preferably on an SSD)
- Download the model weights from Huggingface (you'll need to create an account first)
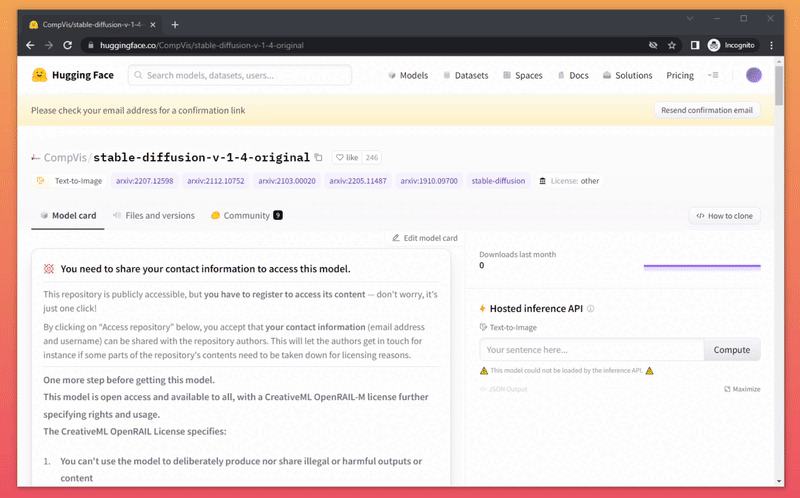
- move it into the folder you've downloaded before
stable-diffusion-for-dummies-main/models/ldm/stable-diffusion-v1 - rename the file to model.ckpt
- use Windows Search to search for 'Anaconda' and open 'Anaconda Prompt'
- in Anaconda Prompt enter the following
code
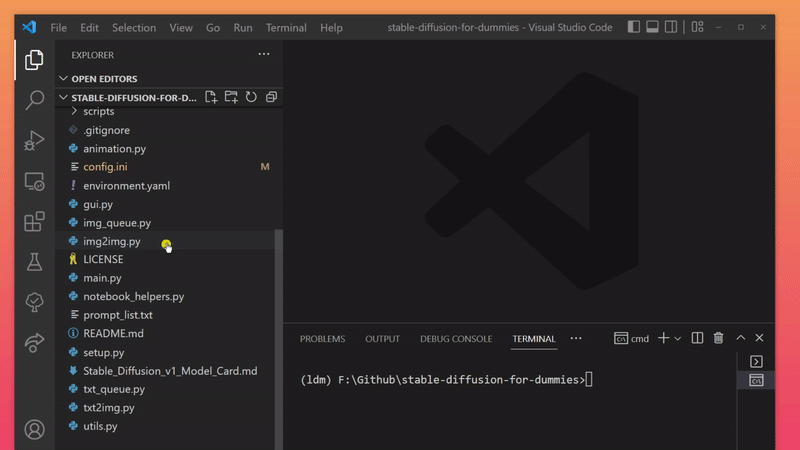
- in the newly opened Visual Studio Code Window navigate to the folder
stable-diffusion-for-dummies-main/
- in Visual Studio Code, open a command prompt and enter the following command, this could take a while, go grab a cup of coffee ☕:
conda env create -f environment.yaml
⚠️ don't close anaconda while this process is running

- enter the following command in your command prompt:
pip install gradio- woah you've made it all the way through, good job 👏
We're all set, let's generate some images.
There is one important distinction other than user experience when it comes to the ways of using this repo described below:
- txt2img (text to image) -> generates an image based on a given prompt
- img2img (image to image) -> generates a new image based on a given image and a prompt
- animation -> generates a number of frames based on a given image and prompt
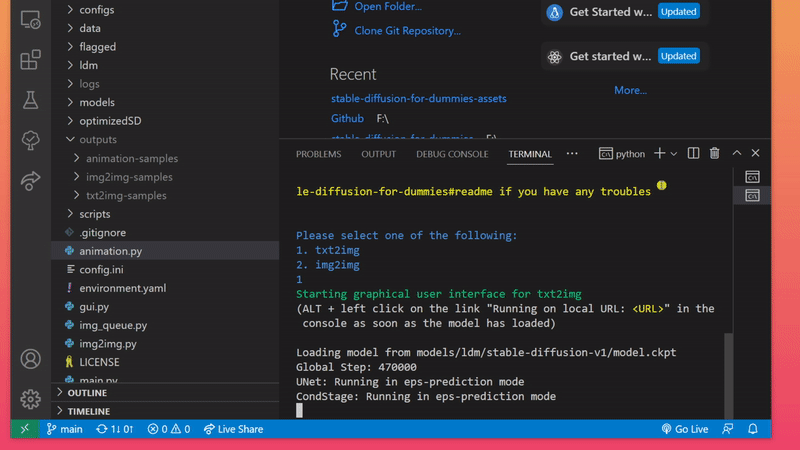
We've implemented several different ways to use Stable Diffusion. Before using any of the methods listed below, make sure to open Visual Studio Code with Anaconda. In Visual Studio Code open a command prompt and enter this command:
conda activate ldm
Then, enter any of the commands described below into this command prompt.
The most straight-forward, albeit not the fastest, way of using this repository for image generation is to enter the command below and pick one of two choices. This opens up a graphical user interface that you might feel more comfortable working with.
python gui.py 
Find all generated images in the folder /outputs/txt2img-samples/<your-prompt>.
Or /outputs/img2img-samples/<your-prompt> if you chose img2img.
We recommend using the CLI (Command Line Interface) as soon as you feel more comfortable. There are several commands to use that all serve a different purpose.
But first, let's talk about configuration. We've implemented a config file where you can set specific values and save them, so that you don't need to input them every time you want to generate an image.
In the root folder stable-diffusion-for-dummies/ you should see config.ini. This file contains several fields you are free to update.
💡 notice the white circle right next to the file name
config.ini? the circle indicates that your changes are not saved, save the file by hitting CTRL+S
| config.ini fields | description |
|---|---|
| image_height = 512 | height of the generated image, in pixels |
| image_width = 512 | width of the generated image, in pixels |
| number_of_iterations = 1 | number of times the generation process is going to run |
| number_of_images_per_iteration* = 2 | how many images are generated each time the generation process runs |
| use_seed | set this to 'True' if you want to use a preconfigured seed or 'False' if you don't |
| seed | unique identifier of your image (share seed and prompt to enable other people to generate the same image as you) |
💡 *If your number_of_iterations (batch_size) is too big, you could run into problems. I'd suggest starting out small (at like < 5) and increasing it in small steps to find out how many images your graphics card can handle.
Enter one of the commands below and the CLI will guide you through the whole process, just make sure to read the console output.
💡 if you ever want to stop a running process in the console, click on the console and hit CTRL+C
The first two commands are fairly straightforward and handle txt2img and img2img generation.
python txt2img.pypython img2img.py Find all generated images in the folder /outputs/txt2img-samples/<your-prompt>.
Or /outputs/img2img-samples/<your-prompt> if you chose img2img.
The next two commands allow the program to go through a list of prompts that were set by you in prompt_list.txt beforehand.
Don't forget to hit CTRL + S to save prompt_list.txt after you're finished editing.
python txt_queue.py python img_queue.py Find all generated images in the folder /outputs/txt2img-samples/<your-prompt>.
Or /outputs/img2img-samples/<your-prompt> if you chose img2img.
The last command is a special addition that allows you to generate an animation based on a given image and prompt.
python animation.py 
Find all generated frames in the folder /outputs/animation-samples/<your-prompt>.
We recommend using EZGIF to generate the animation. Just upload all frames, hit generate and edit the animation to your liking.
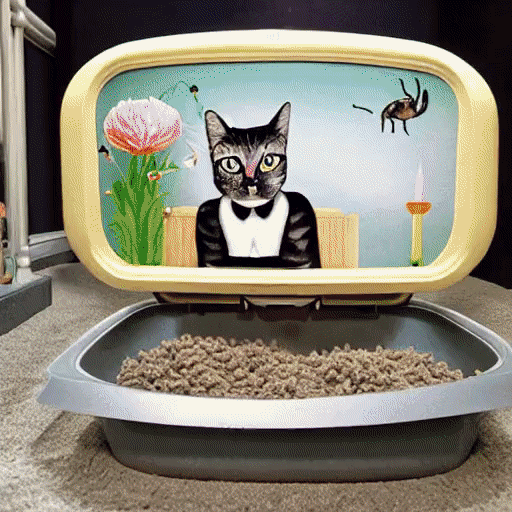
cat litter box full of snails, cat sitting in litter box, painting in style of Salvador Dali
- Suggest some features on Twitter (my DMs are open) 💡
- Contribute to Stable Diffusion for Dummies 🤗
- Get some inspiration over at Lexica.art
- Download and use a different checkpoint of the model
animation.py- convert frames to animated format
- implement zoom-zones
- implement color filters
- implement strength change over frame count
gui.py- implement animation support
- implement inpainting
- ...
- animation.py -> red/violet hue after frame 60 -> needs more testing