This project is based on Deep BGRemove
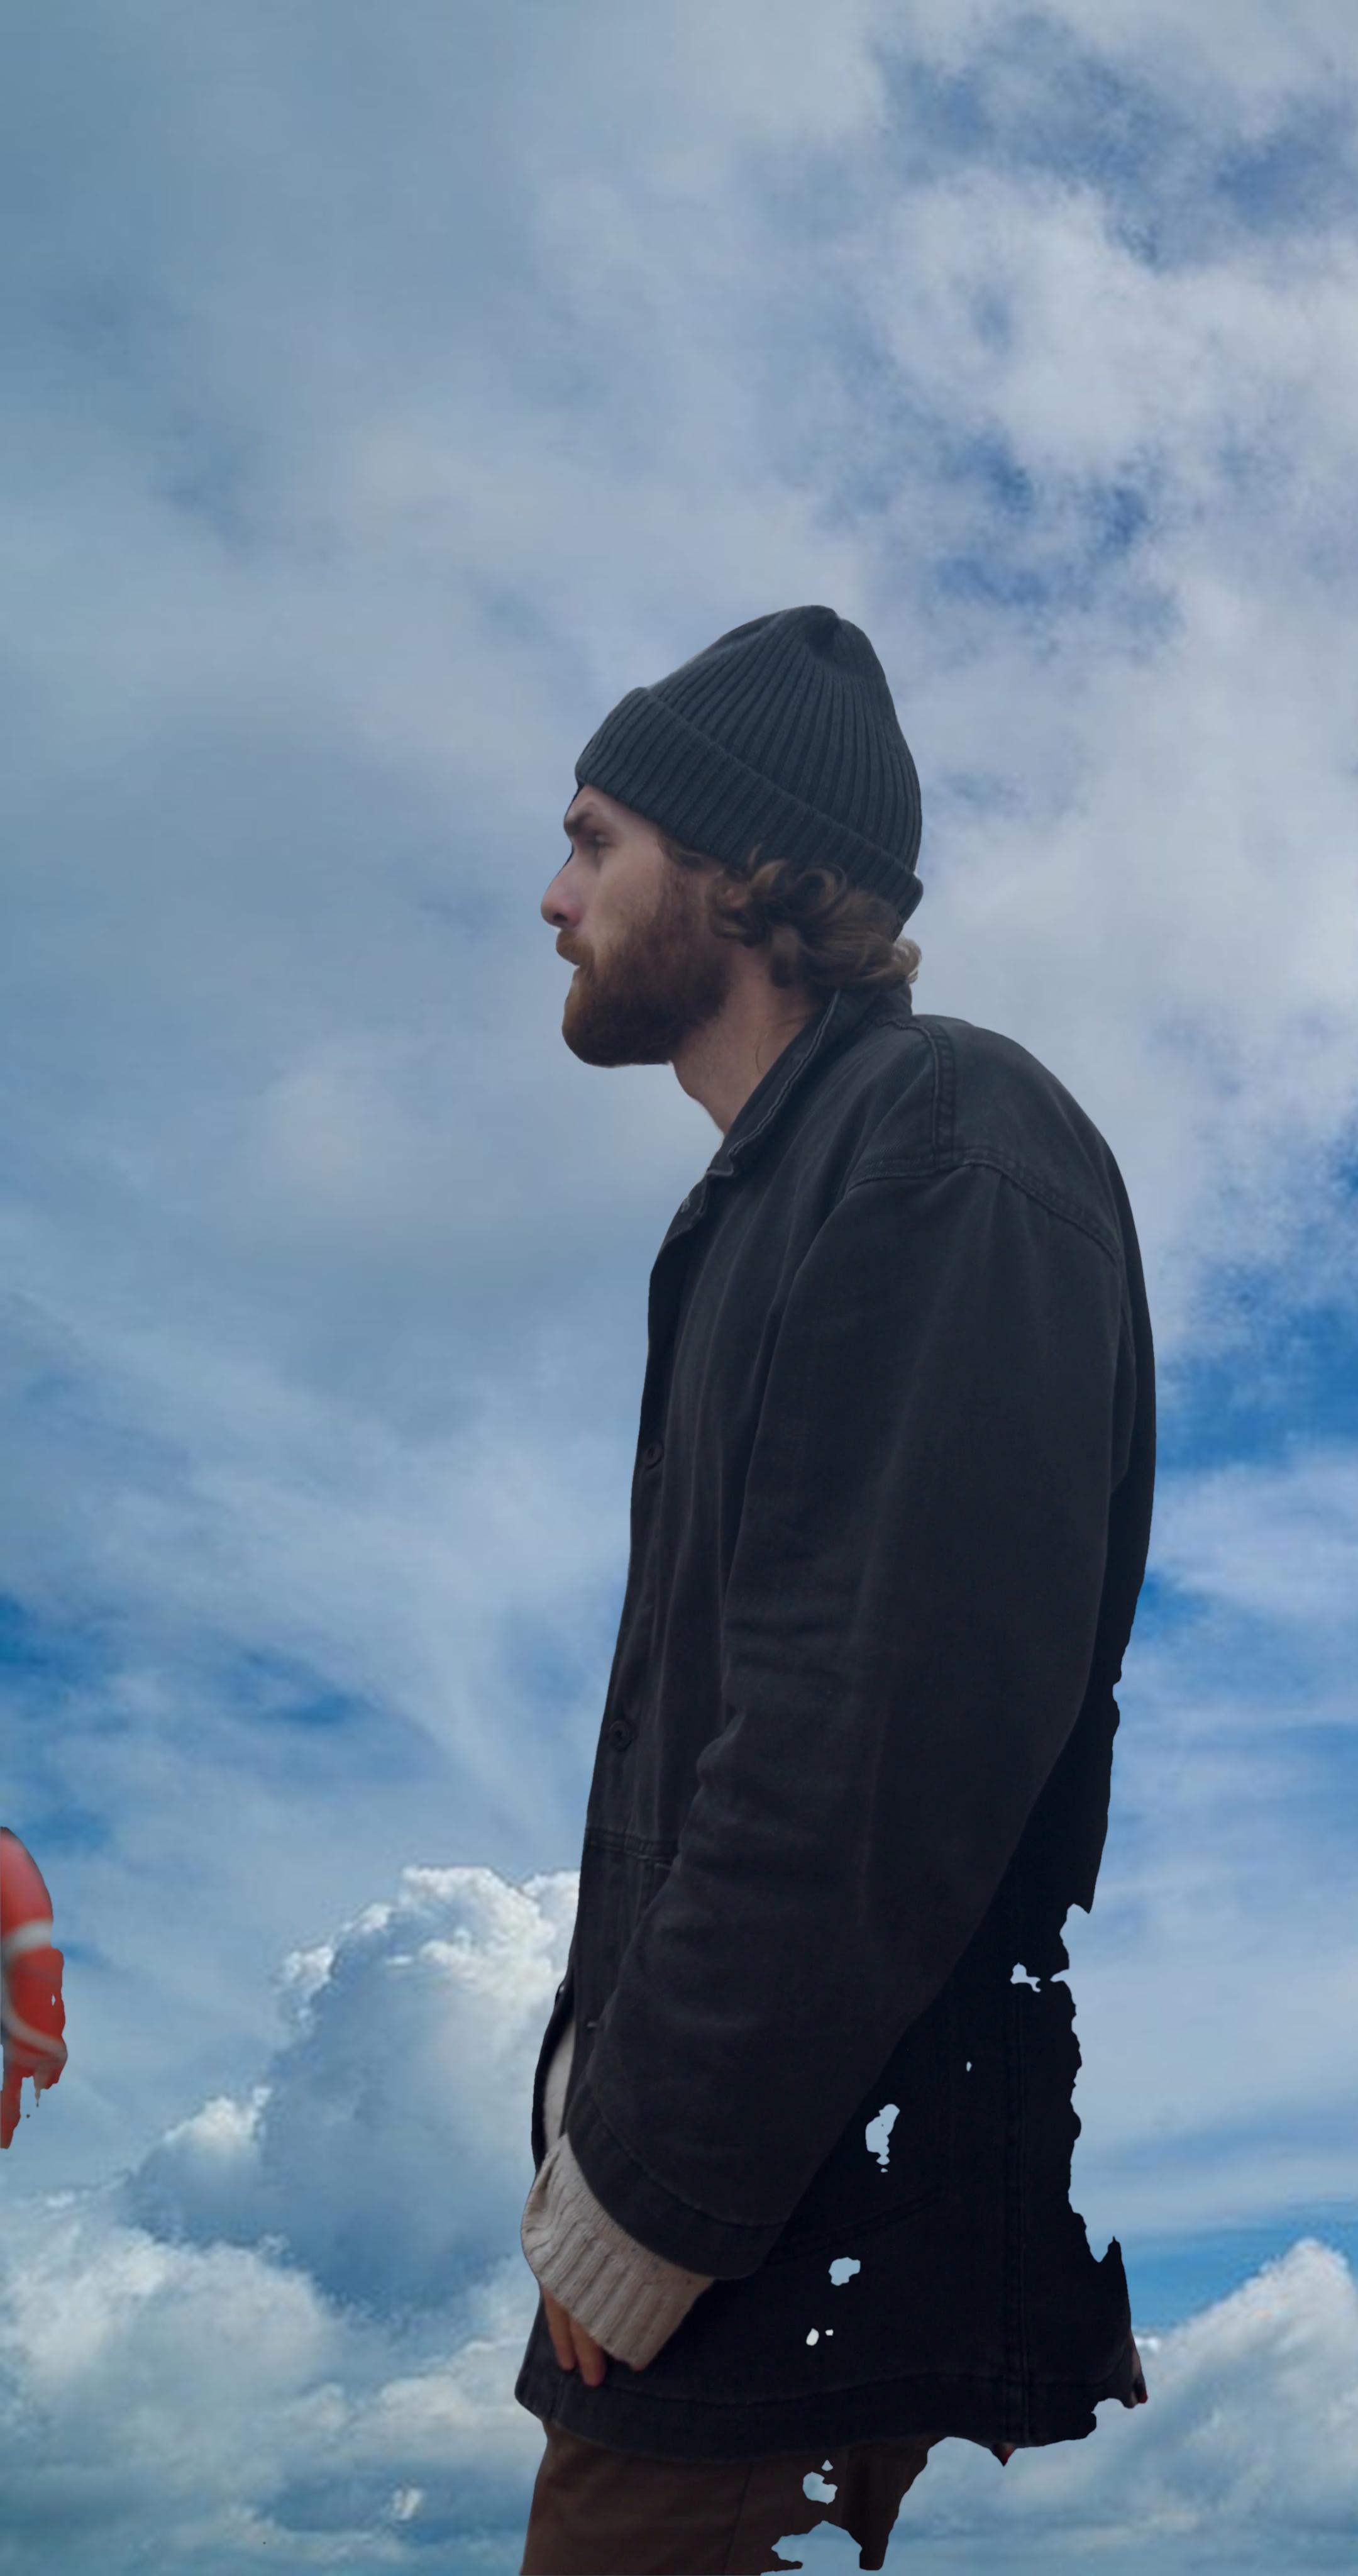
- Work with video/image with people
- Output a mask you can use in another editor
- Output the video/image with the background already modified by a video/image/color
- Apply a mask of your choice instead the A.I. generated one (e.g. a previous exported mask with this app)
- Use as module, API
- Graphical interface
- Improve time spent
- Work with more than just people images, but also objects and animals
- Complete graphical interface
- Windows executable
- Save projects to decrease processing time on multiple requests
- Improve configuration file experience and options
Clone this repo:
git clone https://github.com/ntaraujo/gse.git
cd gse
If you haven't, install python in your machine. Preferably this release
Follow these instructions to install PyTorch locally (you can omit torchaudio if you wish)
E.g. the command to install the current PyTorch version for Windows and Linux with the Pip package manager and no CUDA features (not so cool):
pip install torch==1.7.0+cpu torchvision==0.8.1+cpu -f https://download.pytorch.org/whl/torch_stable.htmlThen install MoviePy and Dill
pip install moviepy dillSince PyTorch cannot be installed with pip in the same way on all platforms, requirements.txt serves as a reference for the package versions that have been tested.
Install kivy and kivymd at least 0.104.2 (why). E.g. on linux at the time of writing:
pip install kivy[base] https://github.com/kivymd/KivyMD/archive/master.zipRun main.py:
python main.pyRename config.json.example to config.json and edit the values to which attend your needs.
E.g. on Linux:
mv config.json.example config.json
xdg-open config.json
The file to run in this case is gse.py
python gse.py-
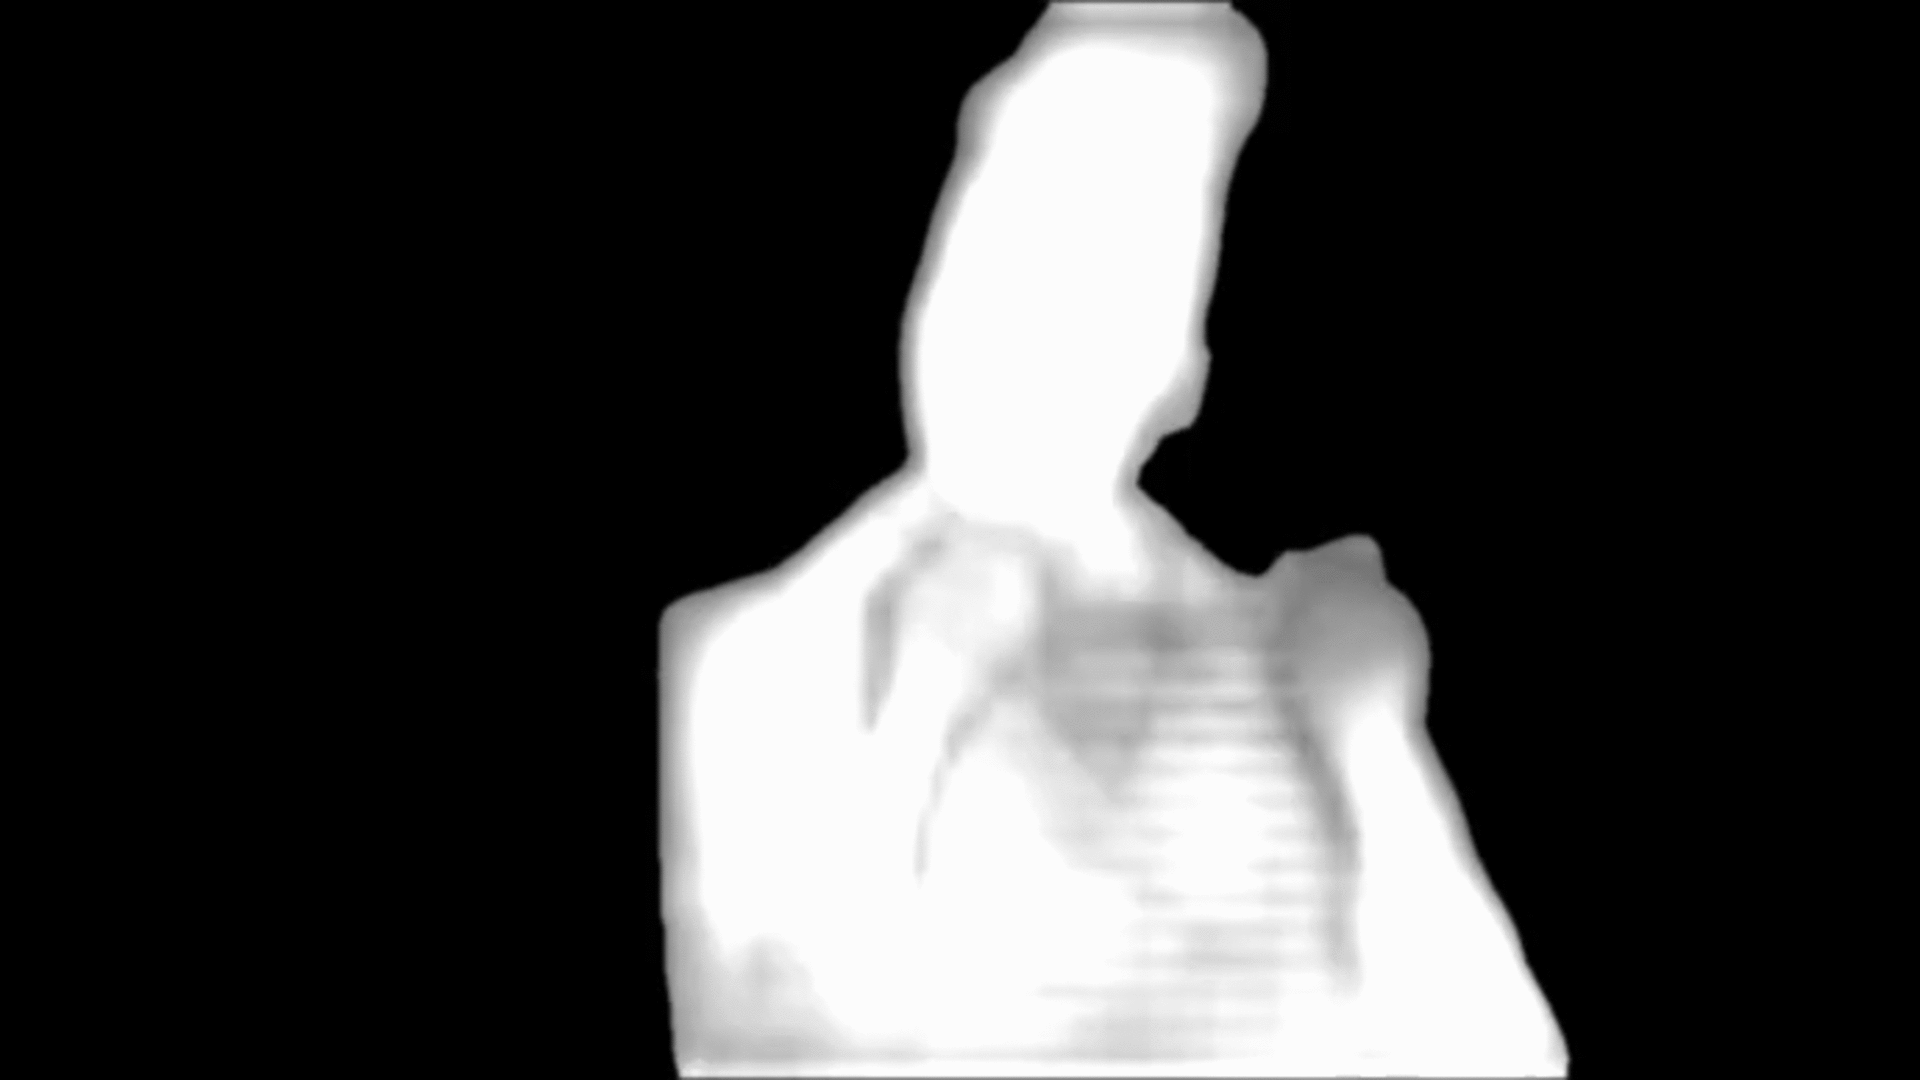
input: The path to your existent video/image. The format must be supported by MoviePy. E.g.
"old_one.mp4" -
output_dir: Directory for outputting videos, images, temporary files and/or logs. Need a "/" or "\" in the end. E.g
"/home/user/Videos/". If"", defaults to current directory -
output_name: Part of the generated file name. This will be {output_name}.{extension} if
get_frameis0. E.g."new_one" -
extension: Video/image formats supported by MoviePy. If video, must correspond to
video_codecandinputmust also to be a video. If image,inputmust to be an image. E.g"mp4"and"jpg" -
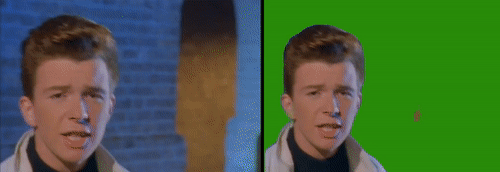
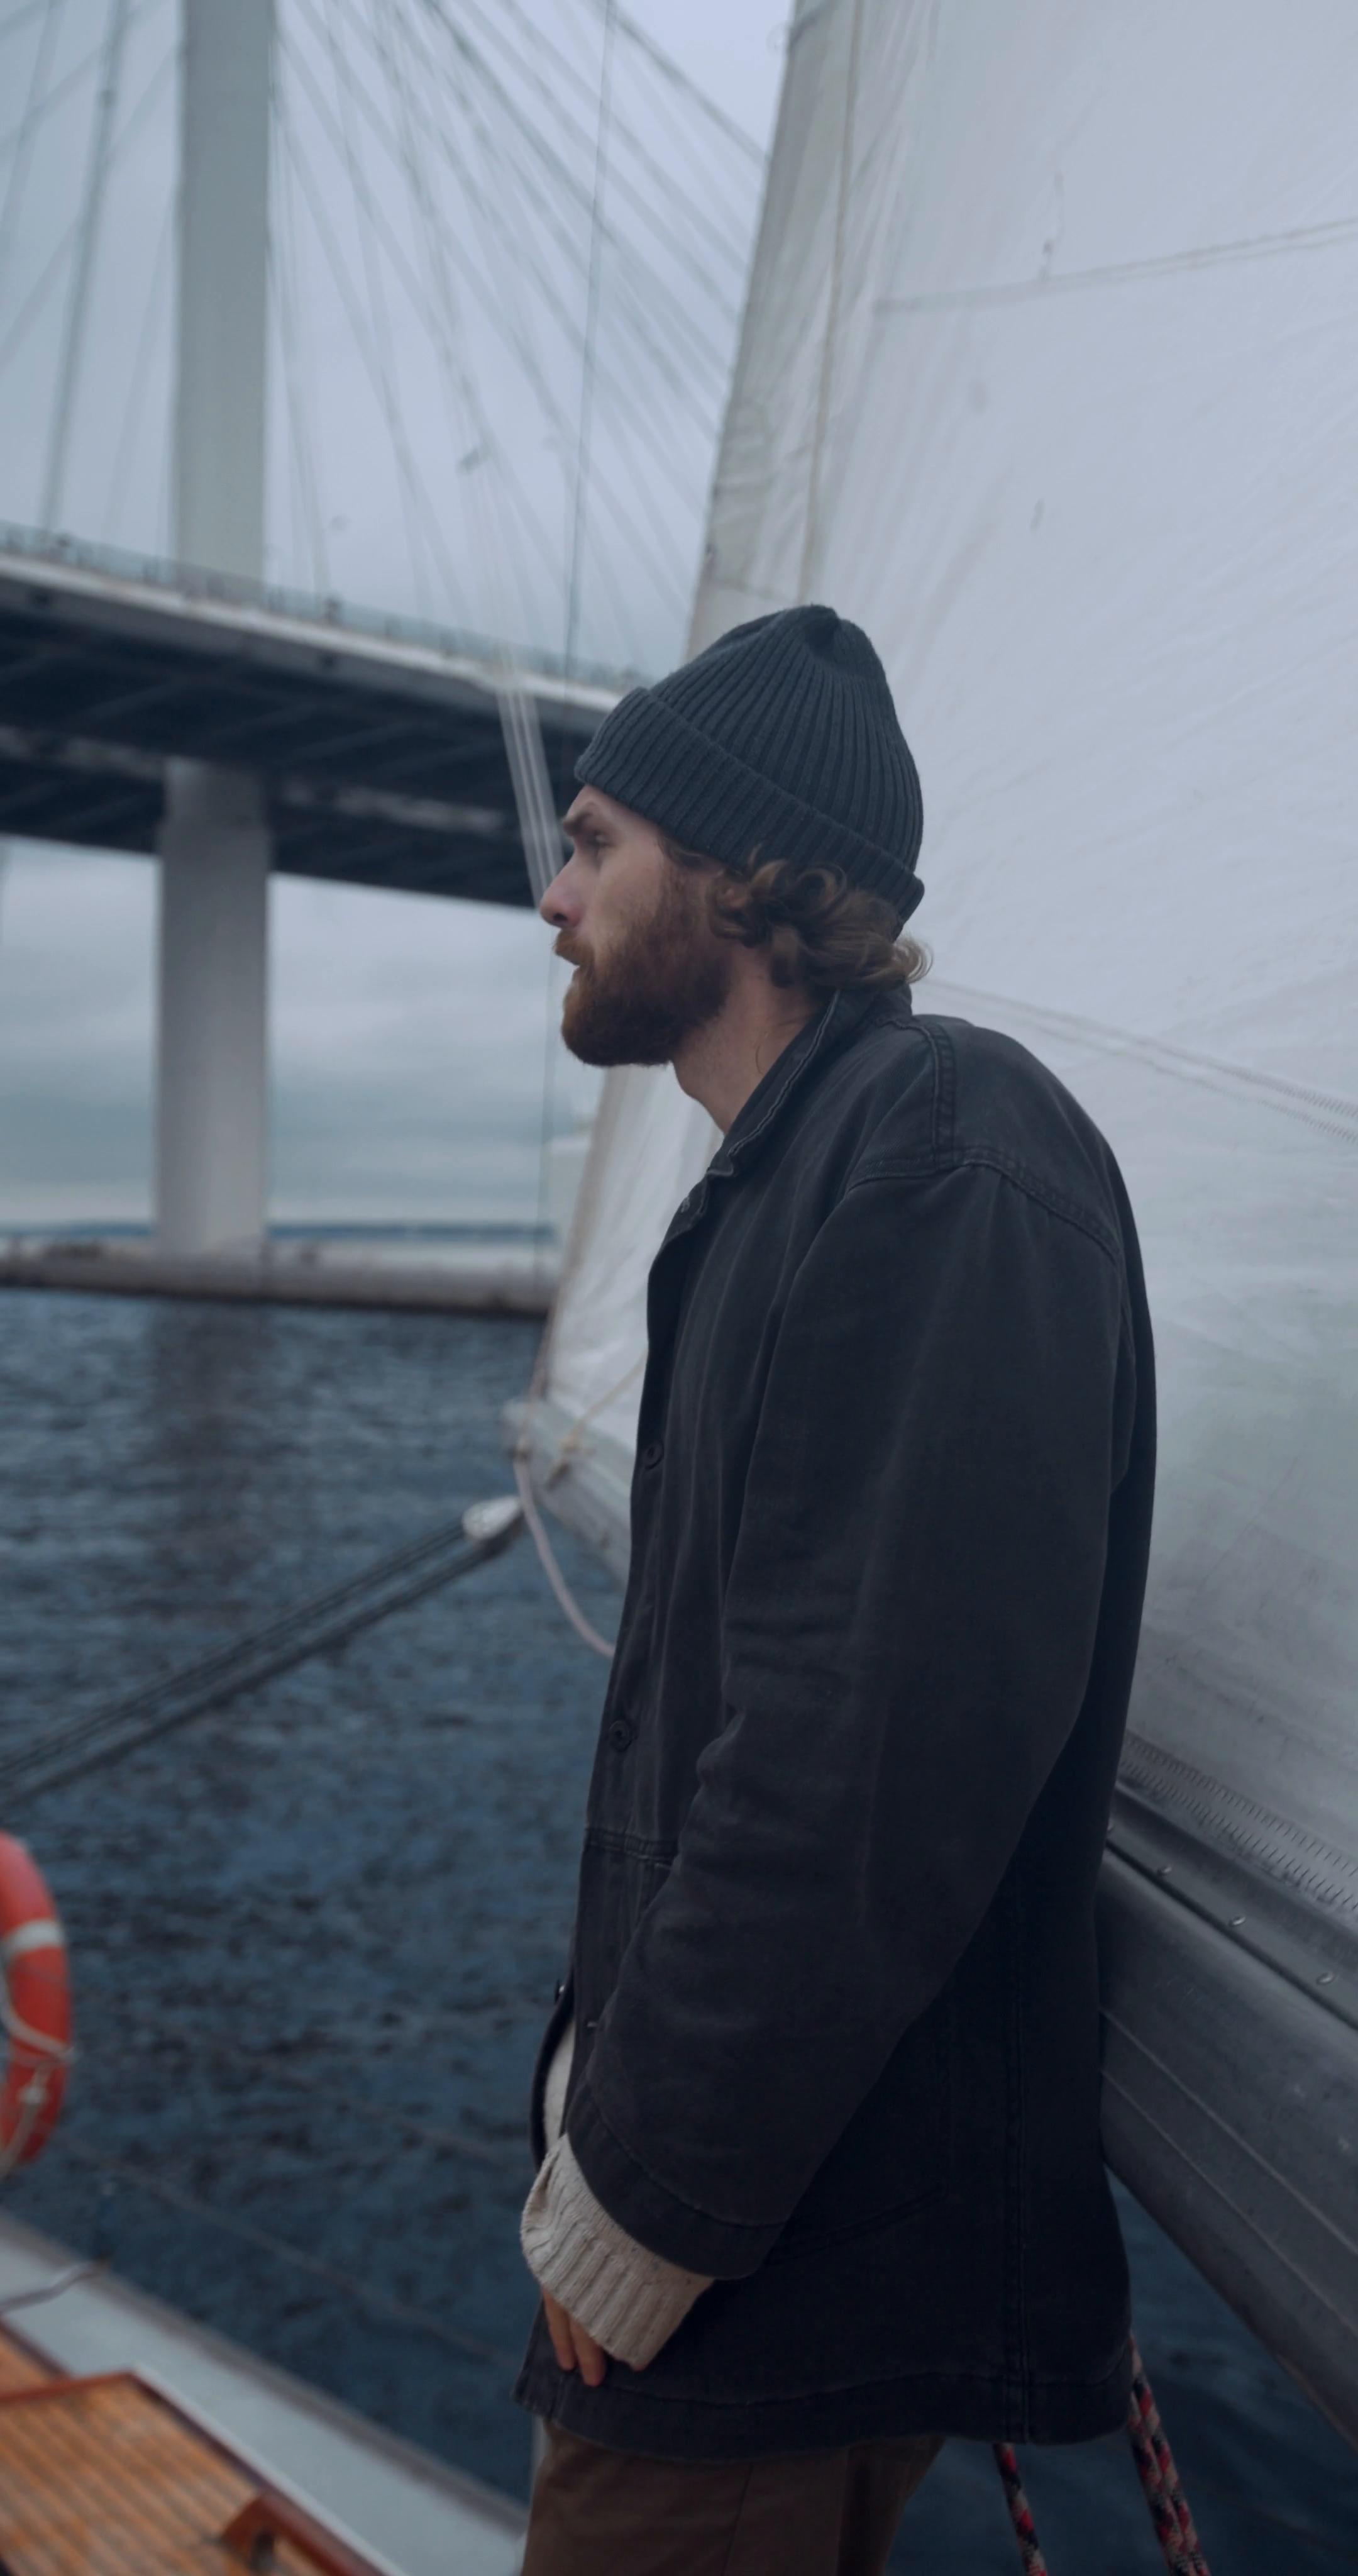
background: Path to an image or RGB color or also video if
inputis a video. If""the output is a black and white mask you can use in another editor. RGB colors are typed in square brackets and with commas between parameters:[R, G, B]. E.g.[0, 255, 0](green screen) and"path/to/my/image.jpg" -
relative_mask_resolution: Depending on how big your
inputis, you may want to decrease the time spent analyzing it. This will not decrease the final output resolution but the quality and accuracy of the mask. E.g.80(%, percent) -
relative_mask_fps: For the same reasons you may want to decrease the amount of frames in your video
inputthat will be computed. This will not decrease the final fps of the person in scene or even the background fps. What is affected is how fluid is the movement of the mask that accompanies the person movement. Typically, if you have a 60fps video you can use a 30fps mask without noticeable changes on the video quality. E.g.50(%, percent) -
get_frame: If you want a preview of the processing results (mainly the
relative_mask_resolutionsetting) in your videoinput, set this variable to a number greater than 0. This will be the frame number exported as {output_dir}{output_name}.jpg. E.g.535
Can be useful if you want to save time, since when the program is run it loads a lot of stuff which will only be used with a single configuration file, a single output. Full docs here
import gse

p = gse.Project()  # load with no configuration

p = gse.Project("config.json")  # load with a configuration file

p.load("my_project.gse")  # replace the Project variables with previous saved ones

p.processes()  # do all at once

p.relative_mask_fps = 60  # Modify a single configuration variable

# Load the input file and let it available as p.input_clip
p.processes(0)

# Change the video duration to 6 seconds
# See what is possible at https://zulko.github.io/moviepy/ref/VideoClip/VideoClip.html
p.input_clip = p.input_clip.set_duration(6)

# Load the mask and let it available as p.mask_clip
p.processes(1)

# Add a 2-second fade in effect to the mask
# See other effects in https://zulko.github.io/moviepy/ref/videofx.html
from moviepy.video.fx.fadein import fadein
p.mask_clip = p.mask_clip.fx(fadein, 2)

# Make the final clip based on the background choice and let it available as p.final_clip
p.processes(2)

# Check the final clip duration
print(p.final_clip.duration)

# Export to file
p.processes(3)

# Use another mask with another resolution, without changing the class variables
p.processes((1, 2, 3),
            mask="video_with_beautiful_shapes.mp4",
            relative_mask_resolution=61)

# Change the background & the class variables
p.processes((2, 3), local=False, background=[0, 0, 255])

# Just export a preview of the video, with the same mask, input and background
p.processes(3, get_frame=578)

# In IPython Notebook you can also preview with the following, where t is measured in seconds
p.final_clip.ipython_display(t=15)

# Note that for video, the longest time is spent in gse.save_to_file() or
# gse.Project.process(3), so there is no much to do for saving this time

# Save the entire Project to use after
p.save("my_project.gse")| Example 1 | Example 2 |
|---|---|
 |
 |
| Original | Color | Image |
|---|---|---|
 |
 |
 |