Use the TSLint TypeScript validator in TextMate 2.

- Validate automatically when you save your file, and on-demand.
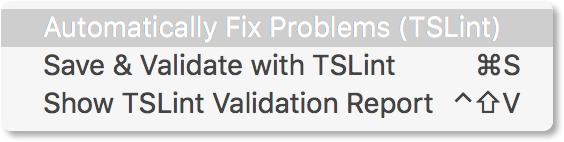
- Auto-fix problems using the TSLint
--fixcommand. - Clickable problem icons are displayed in the TextMate gutter.
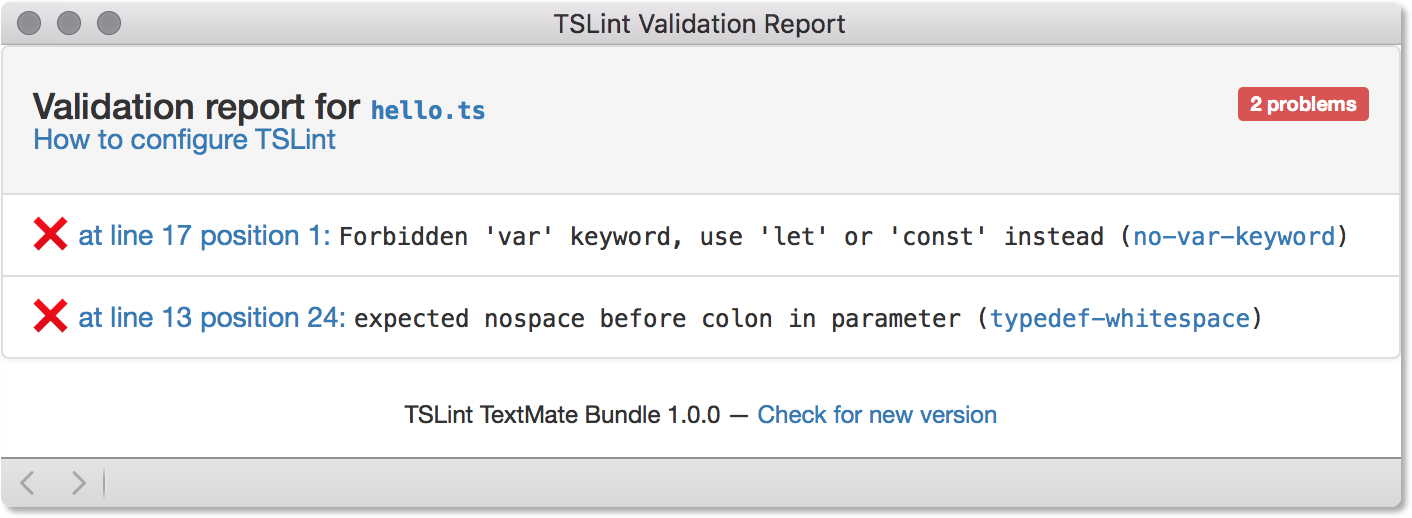
- Optionally get a detailed problem report by pressing Shift-Ctrl-V.
First install TSLint:
- In your project
npm install --save-dev tslint typescript
- Or globally
[sudo] npm install -g tslint typescript
(Optional) Create a starter configuration: tslint --init
Now install the bundle:
- Download the latest release .zip file.
- Extract it and double-click to install in TextMate.
- How do I get TypeScript syntax highlighting?
- Download this zipfile
from Microsoft/TypeScript-TmLanguage.
Extract and double-click
TypeScript.tmLanguage.
- Download this zipfile
from Microsoft/TypeScript-TmLanguage.
Extract and double-click
- How do I run the
--fixcommand?- Call up the TextMate “Select Bundle Item” shortcut (Ctrl-Cmd-T) and search for “Fix”.
- Which version of TSLint is used?
- Whichever version you have installed locally in your project. If you don’t have it installed locally, then whichever version was installed globally.
- Why doesn’t the validator include its own copy of TSLint?
- Because it might be outdated or the wrong version. Best practice is to install tslint locally in your project, so that all of your developers are on the same version.
- Shouldn’t you be using Visual Studio Code?
- If there is an “official” text editor for writing TypeScript, it would have to be VS Code. It includes rich Intellisense auto-completion and is itself written in TypeScript. But some developers prefer TextMate, and they need linting support.