ARCHIVE NOTICE: This project has moved to a series of tools now found at https://github.com/quikdev.
This template provides all of the common scaffolding/scripts needed to release modern/testable JavaScript libraries for multiple different runtimes (i.e. browsers and Node).
This template should be a huge head start for creating a great development cadence on your next project.
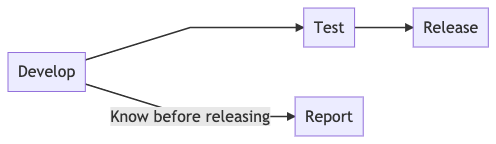
The goal is to provide what's needed to work with a simple workflow:
This template/workflow is designed for ES Modules, i.e. building libraries. It could be customized for an app, but that is not the primary purpose.
This template addresses the following disciplines:
| Concept | Purpose | Tooling |
|---|---|---|
| Build | Release | Transpiler (Babel), Minifier (Terser) |
| Unit Testing | Test Driven Development (TDD) | TAP Standard (tape), Karma |
| Syntax Testing | Standards | StandardJS |
| Manual Testing | Troubleshooting | Custom Web Environment |
Several reports can be generated to help you confidently advance your project.
| Name | Command | Purpose |
|---|---|---|
| Syntax | npm run report:syntax |
Maintaining consistent standards throughout the code base. |
| Compatibility | npm run report:compat |
Identify any incompatibilities in the supported runtimes (Node/Browser) |
| Coverage* | HELP WANTED | Understand how much of the code base has actually been tested. |
*Code coverage doesn't work well when testing transpiled/minified code. Tools like nyc/instanbul currently run, but produce no output (very clearly throwing silent errors).
There are alot of concepts addressed by this template. They're not hard to learn and they're pretty easy to actually use. The template provide all the "heavy-lifting" tools, but you still need to know how to use them. Again, not hard. It's best to familiarize yourself with the workflow by following the steps outline below.
This template requires Node 12.0.0+ (13.0.0+ recommended).
We biasly recommend NVM for Windows (we created it) if you need to update. n is the closest alternative for *nix systems.
nvm install 13.5.0
nvm use 13.5.0
You'll also need to create a new repository from a template, using this repo as the template. Once your repo is setup, clone it to your workstation and follow the steps below.
Run npm run setup to configure the new environment. This takes a few minutes.
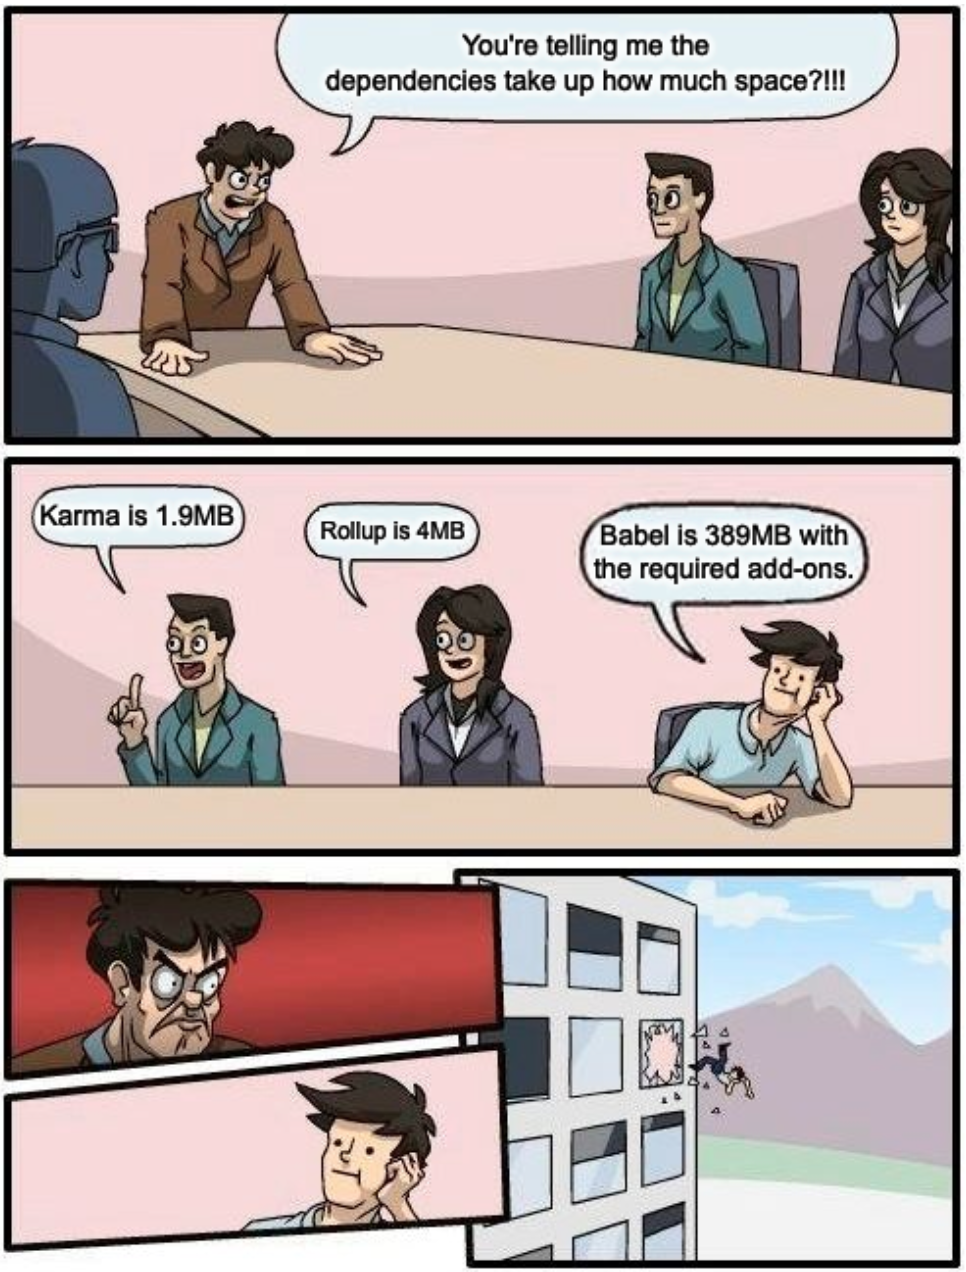
What you're patiently waiting for is primarily Babel, Rollup, & Karma. There are a silly number of dependencies.
This stuff is complicated, and some modules require alot of code. Most don't. We wish some of those modules would be more prone to help keep npm fit.
Update package.json in the root directory.
This is used as the basis for all modules generated by this template (i.e. the master package). We recommend setting the homepage attribute, which will be used to link your project release README's to the main project page. Alternatively, configure the repository or the author (with URL) attributes. If no URL can be derived, an attempt is made to generate one from npm.
There are several kinds of tests. All are stored in the test directory.
The src directory has some bare bones code. It's intentionally simplistic.
The code will always by built and packaged the same way it would be for a production release, in its minified form. All builds include sourcemaps, making it possible to easily trace errors back to their original source (this is built in to the scripts).
npm run test:node
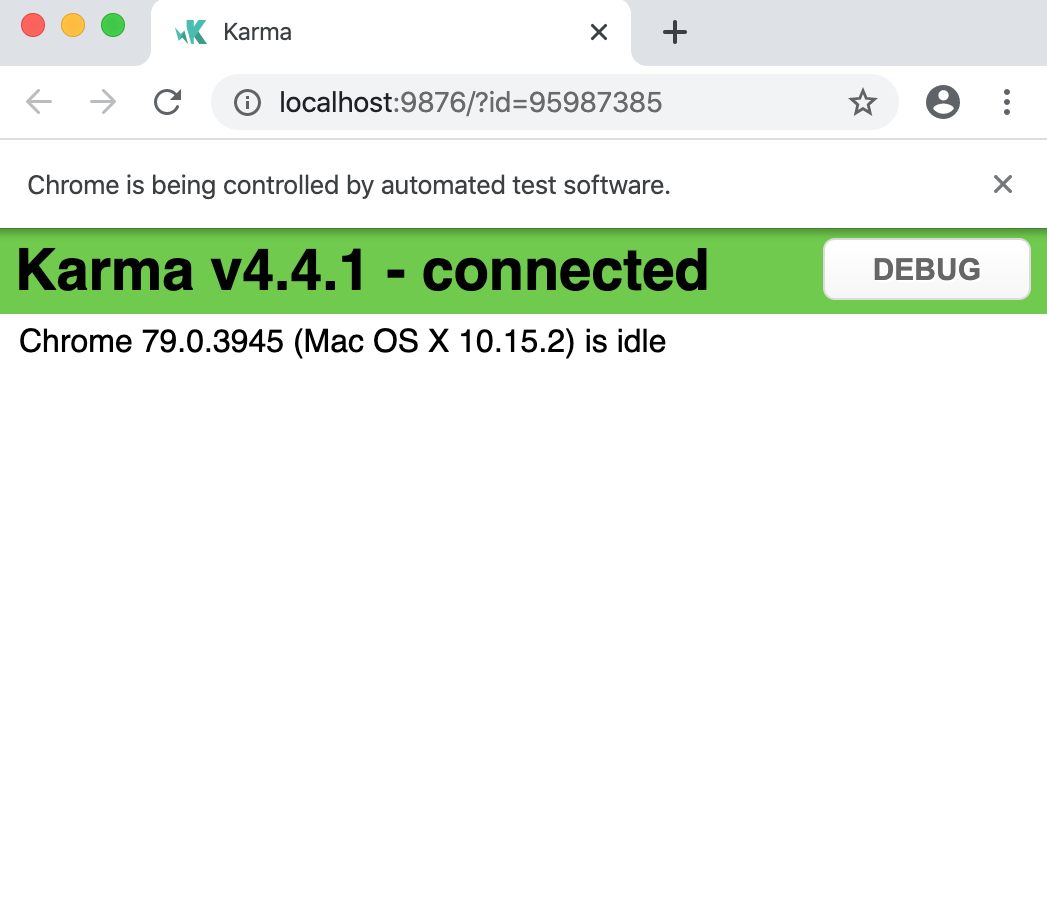
Browser tests are built the same way the Node ones are (i.e. minified with sourcemaps). Karma is used to launch tests in real browsers. By default, only Chrome runs, but the other major browsers are supported too. Modify the file at test/unit/karma.conf.cjs to change the browsers.
Notice the
.cjsextension for the Karma configuration file. Unfortunately, Karma still only supports CommonJS. Lucikily, Node.js supports the.cjsextension to use CommonJS instead of ES Modules, allowing Karma to run without impacting the rest of this test environment.
npm run test:browser
This command launches the browser window for the test process, then closes it when complete:
Want to test the entire project automatically?
npm run testThis just runs the Node tests, then the browser tests.
Troubleshooting errors in an automated test runner can be difficult. Instead of creating extra code for troublshooting, use the auto-generated web envionrment. This template has a special browser-based coding environment, which is preloaded with all of your packaged scripts and unit tests.
This feature currently requires Fenix Web Server 3.0.0 or higher (one of our free products) to serve the web page properly.
npm run manual:setup # this only needs to be run the first time (sets up the web server)
npm run manually
If you run into the following notice...
There are no servers using this directory as a web root.
Navigate to the test directory and run fenix start --force. This will create a new Fenix Web Server for your manual test environment.
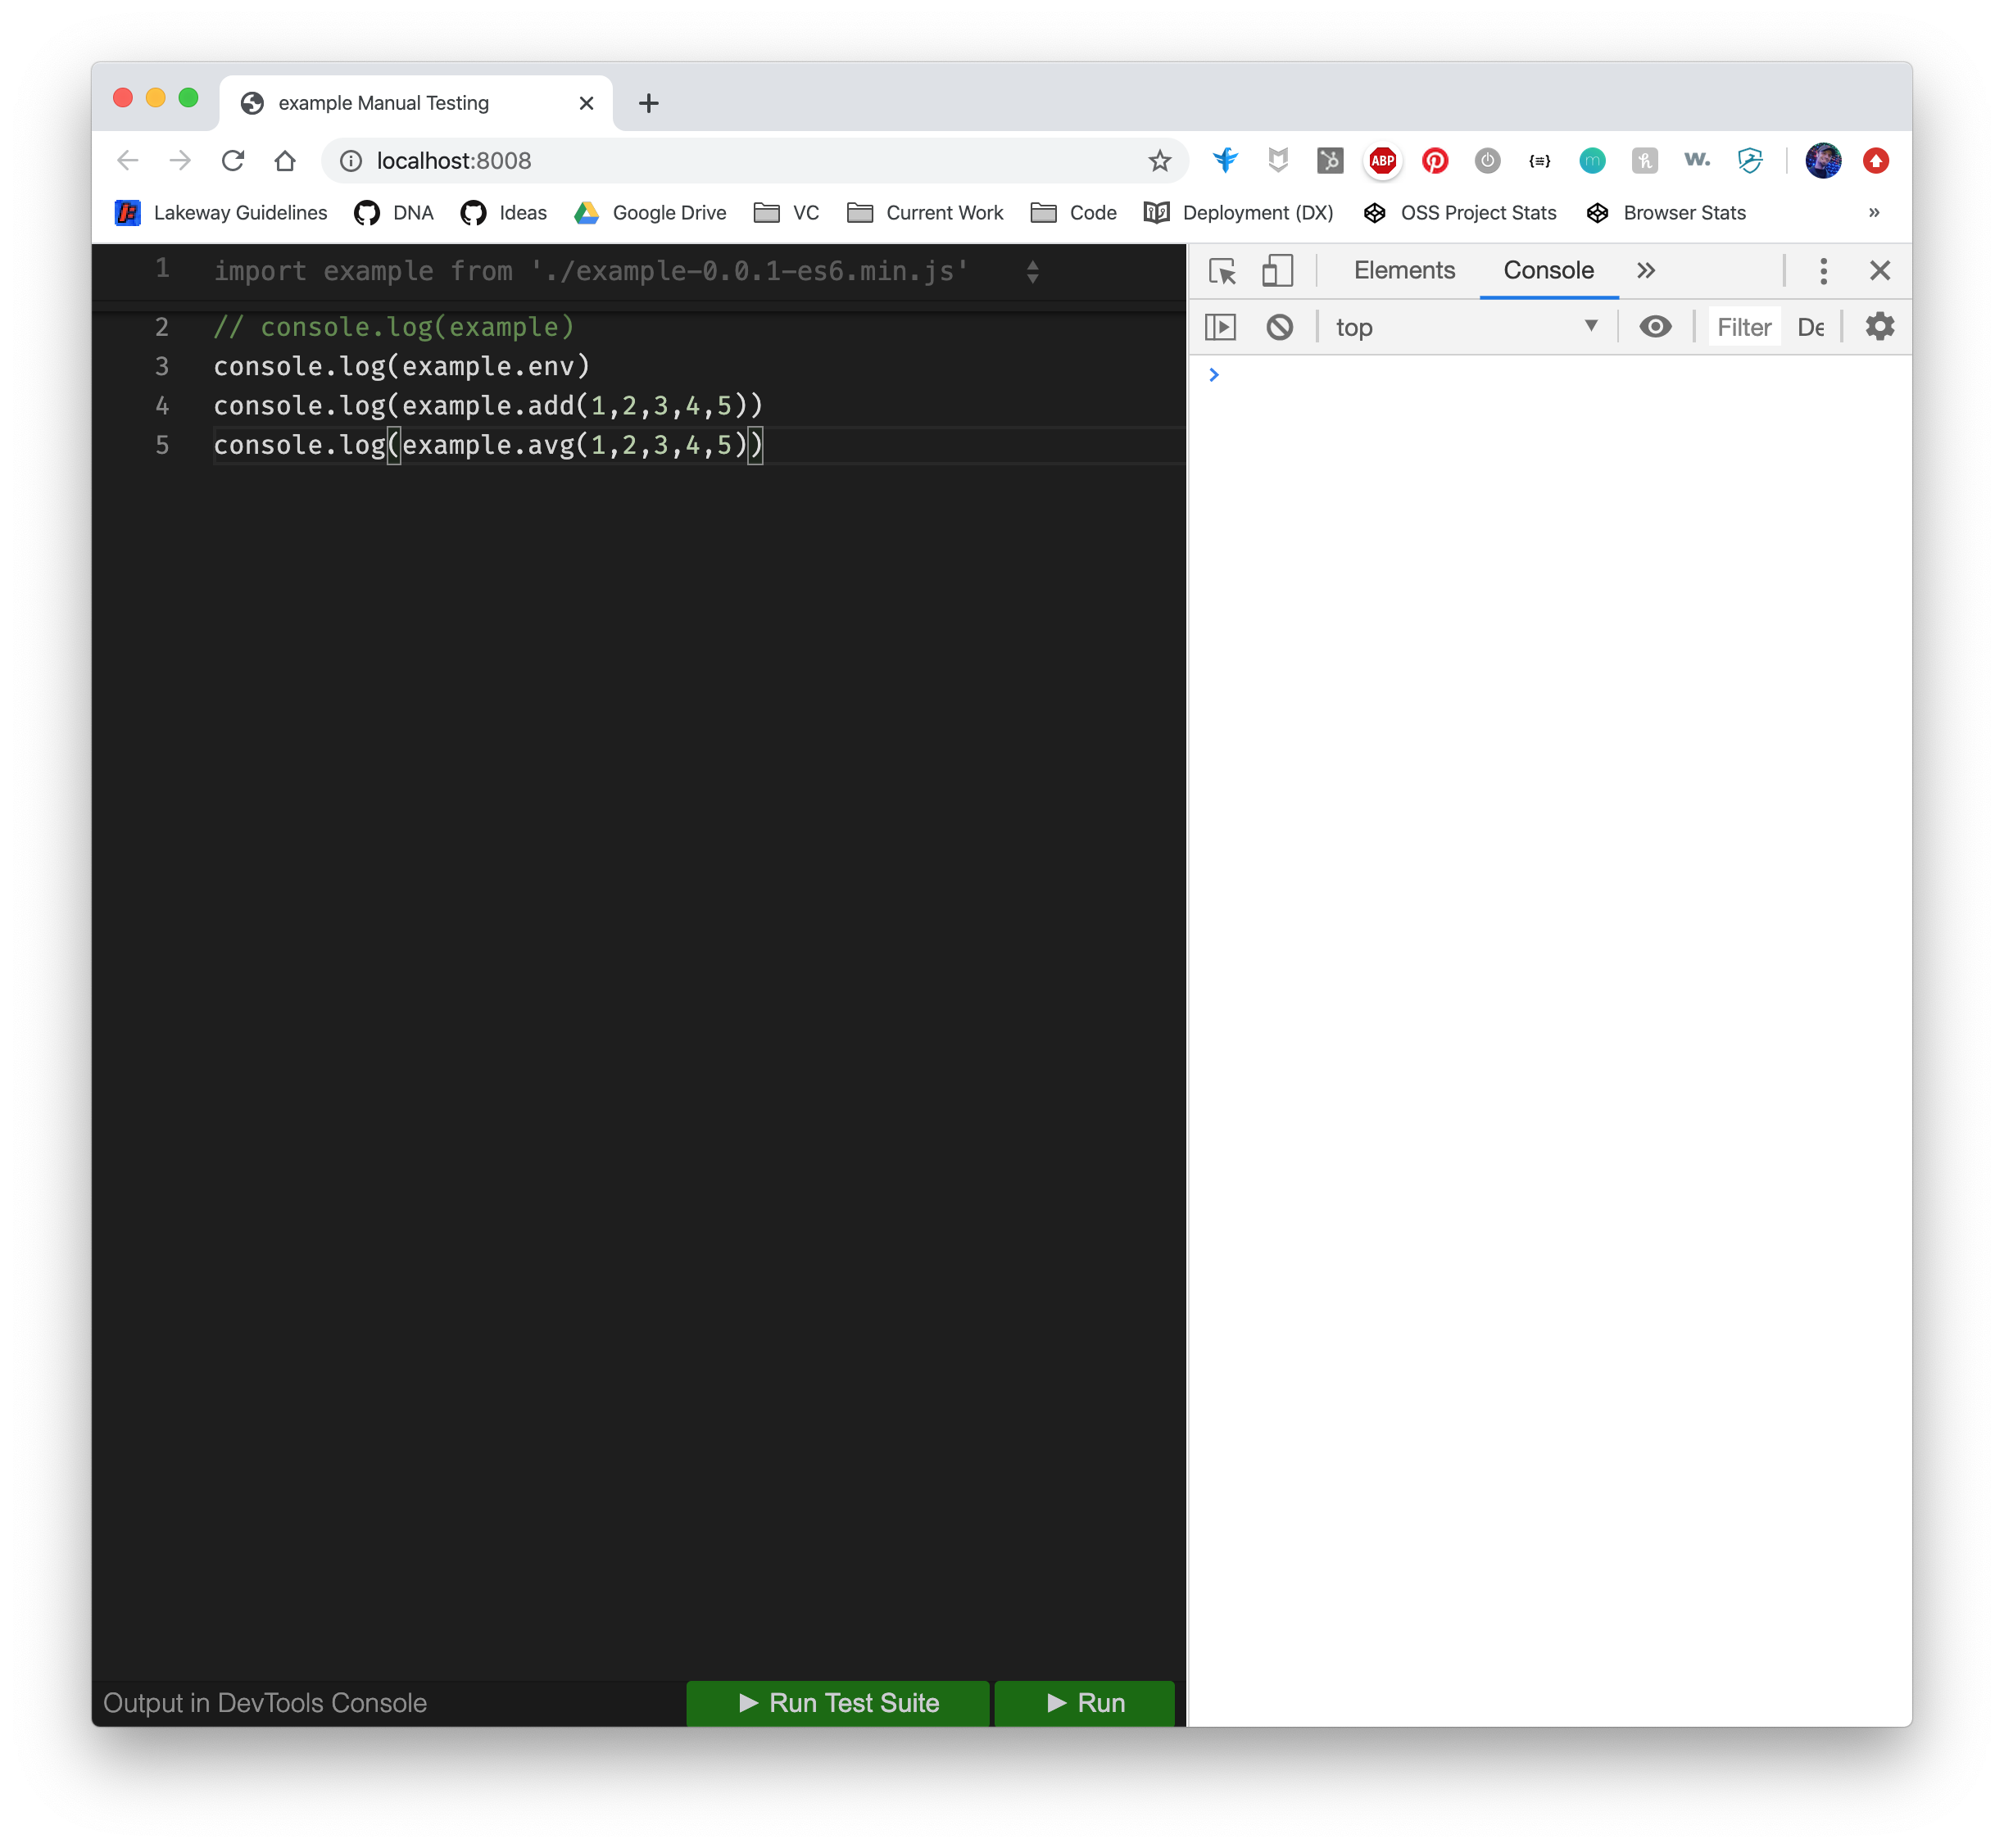
There is a short vode demo of this on YouTube.
The build process transpiles, minifies, & packages code for testing and/or release.
There is a simple build configuration file, build/config.json. By default, it looks like this:
{
  "nodeOutput": "../.dist/node",
  "browserOutput": "../.dist/browser",
  "testOutput": "../test",
  "npmOrganization": "",
  "external": ["os", "fs", "......"],
  "terser": {
    "compress": {
      "keep_fnames": true,
      "keep_classnames": true,
      "drop_console": true,
      "passes": 8,
      "warnings": true
    }
  }
}
nodeOutput and browserOutput are the locations where production releases are created (relative to the build directory). By default, this is a directory under the root called .dist. The dot syntax is important because the .gitignore file excludes almost everything that starts with a dot from your git repo (distributions should not be committed to git).
testOutput is the location where temporary test directories are created. By default, this is the test directory. You probably shouldn't change this.
npmOrganization is the prefix which will be applied to any npm distributions. For example, setting this to @author.io would generate an npm module named @author.io/example (the /<project> part is appended automatically). This can be empty and you should specify your own organization (if you have one).
external tells the Rollup bundler to consider these import clauses to be external dependencies (i.e. not bundled). For example, import fs from 'fs' imports the Node.js file system module. The fs module is part of the external runtime, not your library, and therefore does not need to be bundled.
terser is the configuration passed to the Terser minification module.
There is a file at build/lib/config.js which is used to parse the build/config.json file. It also supports a custom banner (comments) which can be applied to the top of all code that is generated. The default template looks like this:
let banner =
    `// ${pkg.name} v${pkg.version}\n` +
    `// Copyright (c) ${new Date().getFullYear()} ${pkg.author.name||pkg.author||process.env.USER||''}\n` +
    `// Released under the ${pkg.license||'"Unlicense"'} License.`
This generates code like this:
// example v0.0.1
// Copyright (c) 2020 cbutler
// Released under the Unlicense License.
...minified code goes here...The build process dynamically transpiles and minifies code whenever necessary. Babel is used for transpiling. Terser is used to minify code. Both of these libraries can be difficult to setup, but this template does it for you. Modifying the configurations for each of these tools is pretty easy.
Unlike other bundlers, this one minifies Node code and ships a sourcemap in a separate module as a dev dependency. This approach reduces the footprint for production use cases, without making it difficult for developers to troubleshoot module issues. We commonly see footprint reductions of 30-40%, but we've seen as high as 80% too.
npm run build:node
Remember, this template is designed for using ES Modules. However; experimental support was introduced in Node 12 behind a flag. The flag was removed in Node 13, and is "natively" supported in Node 14 (April 2020). Since many users and serverless environments will still need the CommonJS require format, a second "legacy" package is produced to support these environments. This is not the recommended way to build for Node, but it is necessary for those who cannot upgrade.
The following packages are produced:
node-<name>(Minified ES Module version)node-<name>-debug(Sourcemap for ESM version)node-<name>-legacy(Minified CommonJS "require" version)node-<name>-legacy-debug(Sourcemap for CJS version)
To run a Node script with sourcemap support, make sure both the main package and it's debug package are installed (the debug package is a devDependency). The debug package contains the source-map-support module, which can be invoked like this:
node -r source-map-support/register myscript.jsnpm run build:browser
Browser support is dictated by a browser's support of the ECMAScript specification. This spec changes regularly, making it difficult to consistently support all browsers all the time. In a "best effort" to keep up, this template supports two release types: "current" and "legacy".
"Current" releases are built for the last 2 major versions of modern browsers.
The "Legacy" release conforms to the ES6 standard and works on all browsers which fully support the ES6/ES2015 specification.
Internet Explorer only supports ES5 and is not supported by default.
The browser build targets are determined using the browserslist project (build/.browserslistrc). This can be modified if the app needs to support different targets like IE.
This template does not have scripts for publishing packages. It is possible to publish any of them from the generated .dist directory by hand using npm publish. However; this is not recommended practice.
A Better Alternative:
Follow your favorite variation of the gitflow practice. Whenever a new Github "release" is made, publish it.
To do this, use the AutoTagger (we wrote this one too) Github action to monitor the package.json file in the master branch. Anytime the verison attribute changes, the action will create a new tag (i.e. Github release). Use your own Github action to respond to new releases and publish the code to your favorite Node package registry (npm, Github, etc).
Unit tests are in the test/unit/ directory. Tests are stored in organized directories, following a "numeric" naming syntax.
  <##>-<name>
    - <##>-<test>.js
  karma.conf.cjs
  prepareKarmaBrowserSuite.js
  prepareManualTestEnvironment.js
For example, 01-sanity contains a unit test file called 01-sanity.js. This test is a basic "hey it exists" sanity check to get you started.
Tests are written using the tape library. This is a TAP library, which is supported in both Node and browsers (via browserify, from the same author of tape).
All tests start with the same 3 imports, plus anything else you need to test your library.
import 'source-map-support/register.js'
import test from 'tape'
import mylib from '../../.node/index.js'
The source-map-support/register.js import automatically includes support for the sourcemaps this template creates. The test runners are all configured to replace this with the appropriate code in browsers and Node.
The import test from 'tape' includes the tape library.
import mylib from '../../.node/index.js' is an special import that adds your source code to the test. The ../../.node/index.js part does not change. The test runners are smart enough to dynamically parse this import and construct the appropriate import for browsers and Node, depending on the environment you're running in. In other words, the only part you need to worry about is the mylib part. This should can be anything, but is often the same name defined in the main/root package.json file (without prefixes).
This is what a simple unit test looks like:
import 'source-map-support/register.js'
import test from 'tape'
import mylib from '../../.node/index.js'

test('Sanity Checks', t => {
  t.pass('Template tests are available.')
  t.ok(calc !== undefined, 'Library is instantiated.')

  t.ok(calc.add(1,4,4) === 9, `Adding numbers totals 9.`)
  t.ok(calc.avg(1,4,4) === 3, `Averaging numbers totals 3.`)
  t.end()
})One of the unique features of this workflow is the ability to strip Node/browser code from a build. Consider the following example:
export default class MyClass {
  get env () {
    /* node-only */
    return `Node ${process.version}`
    /* end-node-only */
    /* browser-only */
    return 'Browser: ' + navigator.platform
    /* end-browser-only */
  }
}
When npm run build:node is executed, the resulting (pre-minified) code would be:
export default class MyClass {
  get env () {
    /* node-only */
    return `Node ${process.version}`
    /* end-node-only */
  }
}
When npm run build:browser is executed, the resulting (pre-minified) code would be:
export default class MyClass {
  get env () {
    /* browser-only */
    return 'Browser: ' + navigator.platform
    /* end-browser-only */
  }
}
As a result, developers who use the library could write the following code and expect it to successfully run in Node and browsers:
import MyClass from './path/to/myclass.js'

const example = new MyClass()

console.log(example.env)
ECMAScript Support
This template supports all current ECMAScript features. Select stage 3 features may be supported as they evolve to final format (stage 4).
Current Stage 3 Support:
- Private/public class attributes and methods.
The compatibility report builds a release and identifies any potential problems within browsers. A blank/empty report means "no incompatibilities". Incompatibilities are reported as errors, as shown here:
npm run report:compat
Notice the section which looks like:
.dist/browser/browser-example/example-0.0.1-global.min.js
4:461 error Array.from() is not supported in Safari 5.1 compat/compatThe syntax report will highlight any syntax problems in the source code. This uses StandardJS rules.
npm run report:compatWe're working on metadoc and metadoc.io, with the intention of autogenerating documentation from libraries. This is not implemented yet though.
We're seeking help to create a containerized/Docker version of this template.
This document is unnecessary once you're setup, but you might want to rename it to BUILD.md and keep it around for others who need to work on the project.
-
Build Processes
npm run buildnpm run build:nodenpm run build:node:testnpm run build:browsernpm run build:browser:test- Uses Rollup (concatenation), Babel (transpile), & Terser (minification)
-
Starter Test Scaffolding (TAP)
npm run testnpm run test:nodenpm run test:browsernpm run syntaxnpm run compatibility- Auto-prepares Karma Test Runner (Browser)