![]()


A computer vision playground to try and test end to end(test to deploy) computer vision pipeline.
To contribute, create an issue and refer Contributing for possible options.
Update 09/2020 : We now have a refreshed look and feel and many changes as listed below and the repository now is run-safe or what we call the usual python script.py runnable.
- Run using Gunicorn now :
gunicorn -t 1000 --log-level=debug flask_server:app - Updated look and feel using Bootstrap 4.
- Check the update look here :
- Fixed model download and model select path workflow.
- Better file management.
- Some scripts now have logging to help debug the application better.
- Also yeah, first fully functional pre-release.
Update : A new and easy way to download models is now available in codes/model_downloader.py to easily download and extract multiple models from tensorflow model zoo.
App 1 :
This app facilitates the user to just upload any desired video and check the detection accuracy based on the user selected Tensorflow model from model zoo without having to go through writing code for such commom task and can then make appropriate decision in the choice of the right model hence saving important development time.
- Screenshots :
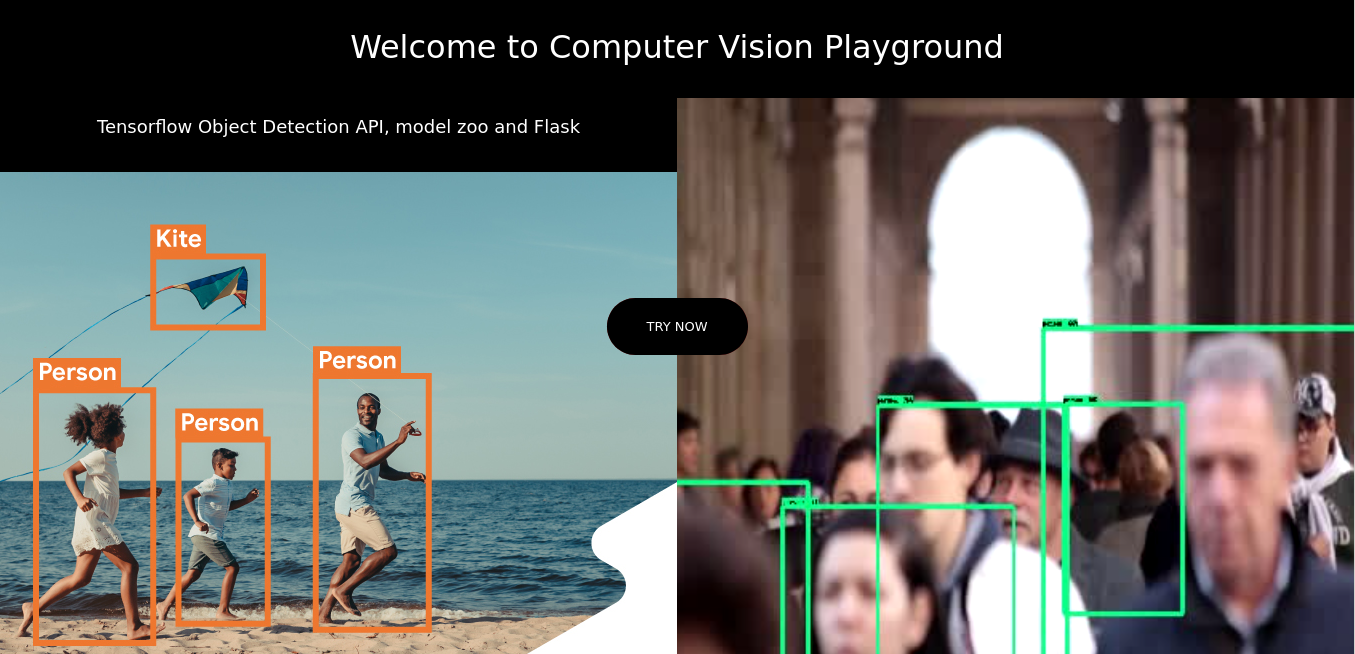 This is the landing page when you start your Flask server. Image credits left- Tensorflow , right -Youtube,
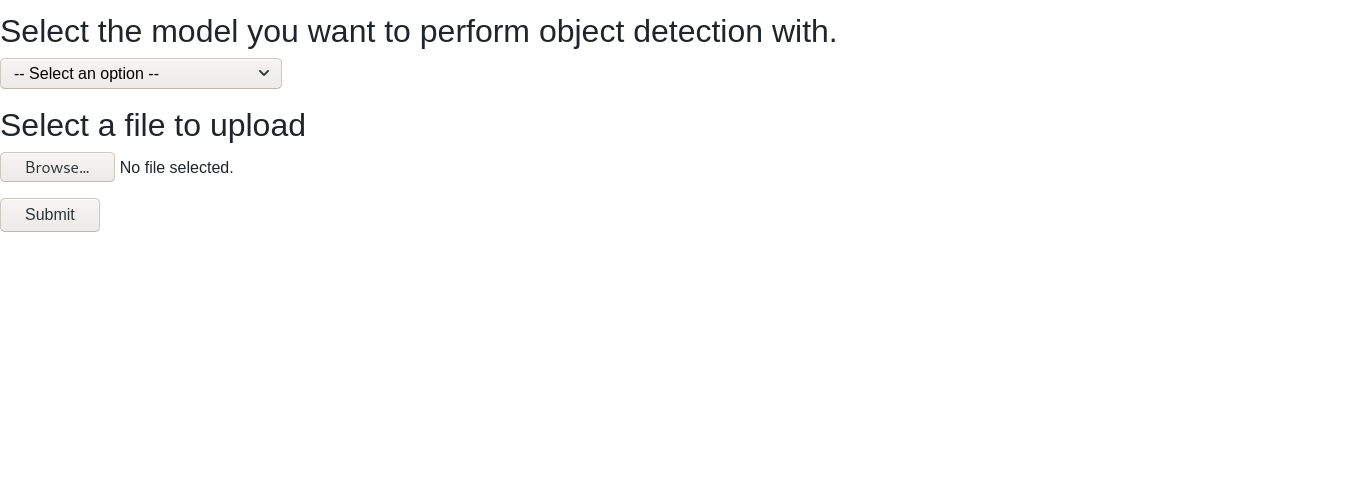 Here you can choose a model to perform object detection on your desired video. All the models are from the Tensorflow model zoo and you can also add or remove models from this section to better suit your own deployed app. After selecting your model you then upload the video you would like to process using the select a file to upload option and click submit.
 You can see what models are currently supported or available using the model select dropdown as shown
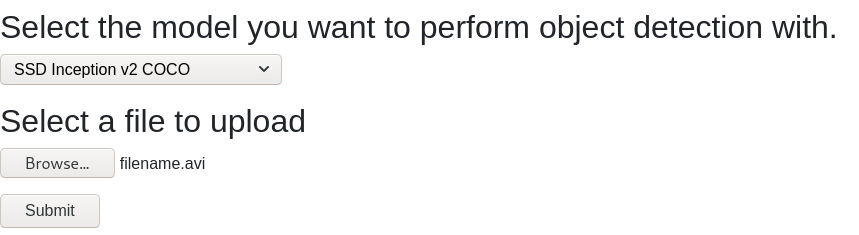 Check to see whether you have selected a model and uploaded the file correctly before submitting the form to process your video.
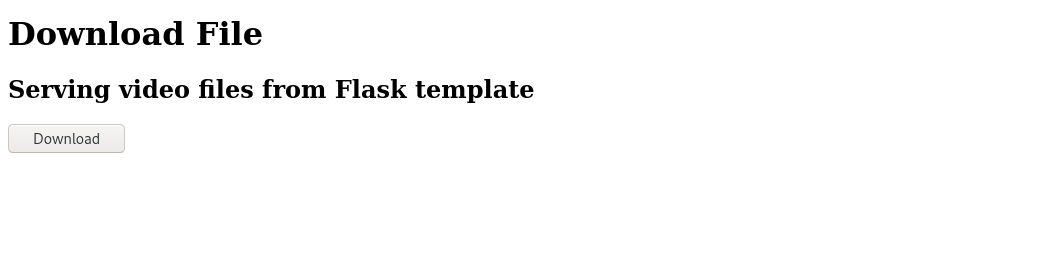 You can now finally download the video processed with the Tensorflow model you seected earlier and see the results for yourself
-
Name : Process videos for object detection using Tensorflow
-
Models currently supported* :
| DB Code | Frozen graph name | Pbtxt file | |
|---|---|---|---|
| 1 | ssdmv2i | frozen_inference_graph.pb | |
| 2 | ssdiv2 | ssd_inception_v2_coco_2017_11_17 (Currently active) | ssdinceptionv2.pbtxt |
-
Database : SQLite
-
UI based app version : https://cvplayground.herokuapp.com/
-
Deployment ProcFile : added
-
Languages, Tools, Frameworks : TensorFlow, Python, Flask, HTML+CSS+JS, SQLite database.
-
Check to see if the following structure exists else create the following directory structure :

-
The downloads folder will host all the processed files for sending the user to download and uploads for saving uploaded files.
-
codes has the main video object detection code and model downloader with requirements for the tensorflow object detection api in the models sub directory.
-
db has the database sqlite file.
-
templates has the web HTML templates for user interaction.
-
detect_models hosts the model .pb and .pbtxt files for the desired model to use. Refer model_downloader.py to download the models in this directory.
-
Go inside the main project directory and execute
pip install -r requirements.txtcommand to install all the necessary requirements needed to run this project.
-
Use the
model_downloader.py file. You can download all the models using this file to perform object detection with. You can also select which models to download using the list at the very beginning of the script. the script will automatically download models to the detect_models directory and unzip them as shown in the directory structure. -
Create a
sqlitedatabase file insidedbgiving the name you wish. The project usescvplayground.sqlitefor simplicity. -
Execute the below
createstatement to create the necessary tables inside the databse created.
CREATE TABLE "uploads" (
"id"	TEXT UNIQUE,
"status"	NUMERIC,
"isUploaded"	INTEGER,
"isProcessed"	INTEGER,
"location"	TEXT,
"datetime"	TEXT,
"model_name"	TEXT
 )
OR simply go to
codes/db_create.pyand let it do all the work for you.-
Open a terminal and execute
python flask_server.pyor
gunicorn -t 1000 flask_server:app(compatible with Heroku too) to deploy on production using Gunicorn
which will start the default flask_server at
localhost:5000or whatever port you designate in theflask_server.pyfile. -
You are now ready.
[UPDATE] : With the change in how models are loaded you can now simply create a folder named as your model name with the model's
.pband.pbtxtand add it to the dictionary to make it work with your own model easily.More model support coming soon. Status passing, pytest with code 5. Import requires tensorflow model folder inside codes directory, however if it is available in your path then ou can directly link to it. More models can be downloaded and saved in detect_models, the model name needs to be added in the dictionary and saved accordingly in the database to take effect. Heroku slug size exceeding due to packages and the model. The slug size limits deploying this on Heroku , hence deploying to following services like AWS Beanstalk or Google app engine.
-
