This repository only contains code and instructions on how to setup the Raspberry Pi device to report temperature/humidity data along with manual alerts to the server. The server code where data is received and saved, notifications are sent, and the entire system configured via the admin portal, can be found on thermostat repo.
You will need the following items
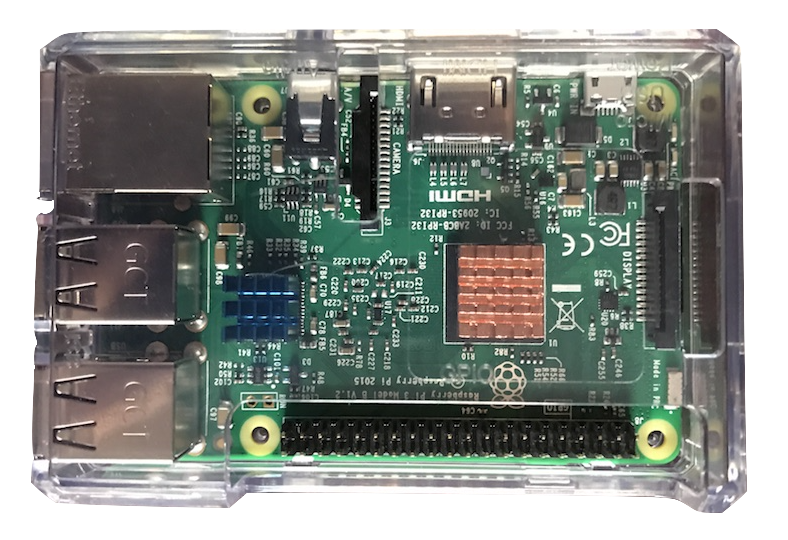
- Raspberry Pi with Wifi
- Temperature/Humidity Sensor
- Push Buttons
- 4GB or bigger Micro SD Card.
- 5V Micro USB Power Adapter. You can use any Android Phone/Tablet Charger found in home as well or power it using a USB to MicroUSB cable as well.
- Case (Optional to package everything together)
- Install Raspbian Image (Operating System to run on Raspberry Pi) from official Raspberry Pi website onto the Micro SD Card. You can find the installation instructions on how to install the Raspbian OS onto the Micro SD Card here
- Once you have the OS on the MicroSD Card you should mount it add create an empty called
sshin the/bootvolume of the MicroSD card image to remote login via ssh into the Raspberry Pi - Also you can auto connect your Raspberry Pi to your Wifi by creating a
wpa_supplicant.conffile in the/bootvolume of the MicroSD card image. Enter the credentials to your Wifi in this file by copy pasting the contents below and replacing it with your Wifi name and password.
ctrl_interface=DIR=/var/run/wpa_supplicant GROUP=netdev
update_config=1
country=US

network={
	ssid="WIFINAME"
	psk="PASSWORD"
	key_mgmt=WPA-PSK
}
- Once OS is installed and remote login and Wifi configured, insert the MicroSD Card in the Raspberry Pi.
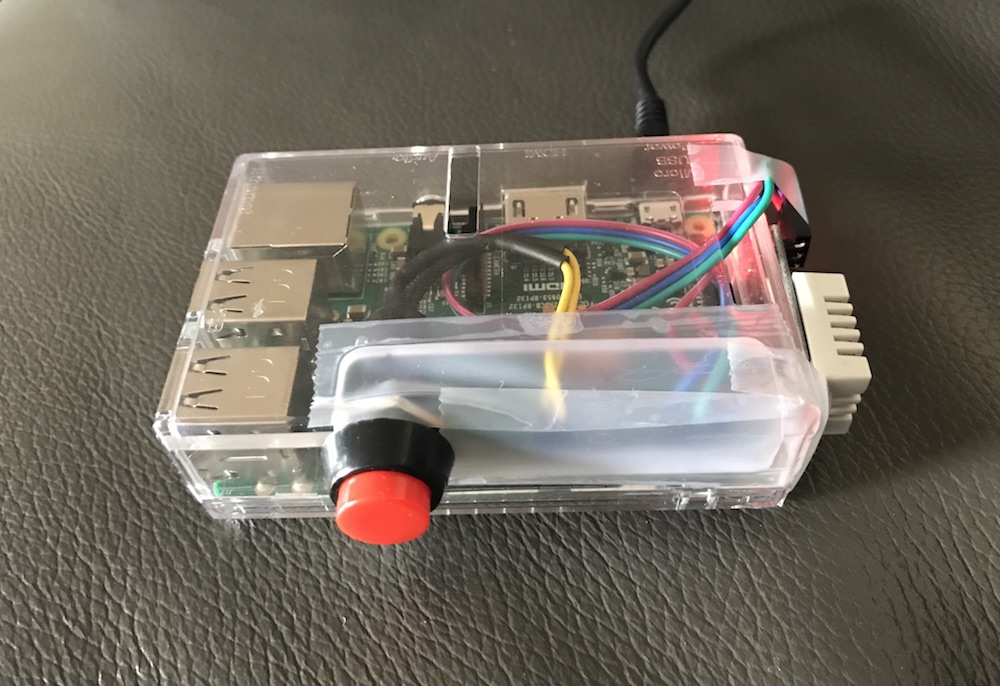
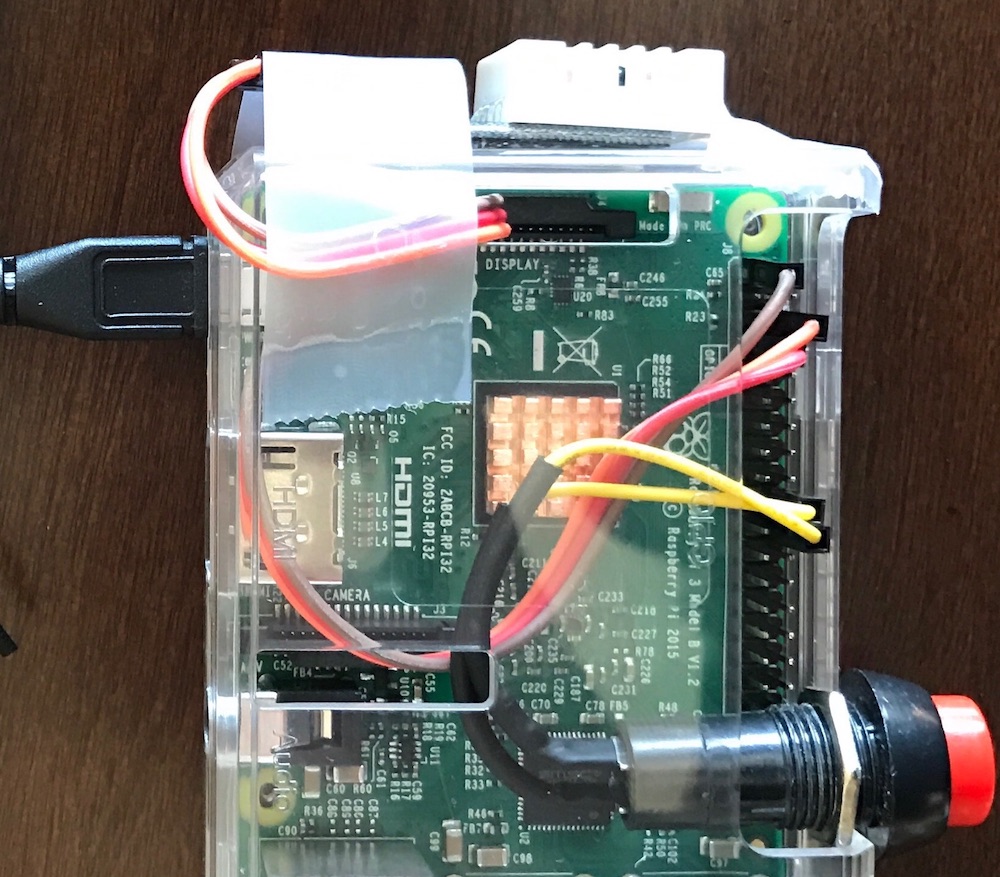
- Connect the Temperature/Humidity Sensor to the Raspberry Pi by Connecting the
Positive (+) endvia the jumper cable to the3V Pin, Connecting theNegative (-) endvia the jumper cable to theGround (GND) Pinand Connecting theData endvia the jumper cable to theGPIO Pin 4on the Raspberry Pi. - Connect the Push Button to the Raspberry Pi by connecting any one of the jumper cables to
GPIO Pin 25and the other toGround (GND) - Power up the Raspberry Pi and login via SSH or connect it to a monitor/keyboard/mouse and open the terminal and follow the software installation instructions below
Run the following commands in the Terminal. To remote log in you will need to SSH into the Raspberry Pi after powering it. Make sure you are in the same Wifi network to SSH. The default hostname will be raspberrypi so you can login via ssh [email protected]. The default password is raspberry.
- First change the password using
passwd - Then install docker using this command
curl -sSL https://get.docker.com | sh - Then make the pi user be able to executa commands as sudo user inside of the docker container via this command
sudo usermod -aG docker pi - Reboot raspberry pi using
sudo shutdown -r now - Then ssh into the raspberry pi again and pull the docker container containing our code
docker pull encoreptl/thermostat-sensor:latest - Finally start the container using the command below and it will always run the container even when raspberry pi gets restarted
docker run \
  --privileged \
  --restart=unless-stopped \
  -e PYTHONUNBUFFERED=1 \
  -e SERVER_DOMAIN=thermostat.encoredevlabs.com \
  -e BUTTON_PIN=25 \
  -e TEMP_SENSOR_PIN=4 \
  -e REPORT_INTERVAL=60 \
  -v /sys:/sys \
  -d \
  --name thermostat \
encoreptl/thermostat-sensorYou can configure the container by setting the following environment variables in the docker run command to your liking:
SERVER_DOMAIN- Setting this will post the reading to this domain and it can container port number as wellREPORT_INTERVAL- Frequency of how often you want to send temperature readings in secondsBUTTON_PIN- Pin number where you have the button installedTEMP_SENSOR_PIN- Pin number where you have the temperature sensor installed
You will need to get the MAC address of the Wifi (wlan0) network interface so that you can register the device on the server via the Admin Portal otherwise the server will not accept readings from this sensor.
Change hostname of Raspberry Pi if needed to help differentiate from one another.
Setup remote access via SSH using ngrok over the internet by downloading the binary from here: https://bin.equinox.io/c/4VmDzA7iaHb/ngrok-stable-linux-arm.zip
Then unzip it and setup the ngrok yml config file as such:
authtoken: <Get Auth Token after registering on ngrok.com>
json_resolver_url: ""
dns_resolver_ips: []
tunnels:
  ssh:
    proto: tcp
    addr: 22
To run ngrok in background just run the following line /path/to/ngrok start ssh --config=/home/pi/.ngrok2/ngrok.yml > /dev/null &. You can add this to the rc.local file to start ngrok on reboot.
Setup crontab to reboot every few hours incase there are issues in reporting or being able to connect remotely using ssh via ngrok.
sudo -icrontab -e- Add the following line
0 * * * * /sbin/shutdown -r now