Project Page | Official Demo Video (2m) | arXiv |


- 最大輸出解析度:512x512
- 最大時長:無限制
- 輸出影片幀率:固定為 15 fps(模型也會同時輸出所有影格,可以自行轉換成其他幀率的影片)
- 不同人種或膚色間的人臉轉換效果可能較差,推測是跟訓練模型用的資料及人臉種類有關
- 背景內容較複雜時容易看出扭曲
- 正臉效果較佳,判斷原因有(1)模型主要使用正臉資料做訓練(2)模型依賴 dlib-68 去偵測臉部 68 個標記點,非正臉時有些標記點會重疊或無法偵測到
- 臉部若有遮蔽物(e.g. 眼鏡)也會影響輸出品質
- 最佳條件:影片全程正臉、背景簡單、光線明亮、人臉與其他物件分界明顯
- 適用場合:新聞播報、線上教學、演說、訪談等人只需露出肩部以上且沒有太大移動的說話情境
- OS:Ubuntu 20.04
- GPU:NVIDIA Tesla V100 SXM2 single core
- GPU Memory:30 GB
- Memory:60 GB
- CUDA Driver:460.119.04
- CUDA:11.4
- cuDNN:8.x.x
- Python version:3.8.10
- 模型大小(GPU):2.5 GB(2502 MB)
- GPU 記憶體用量:固定 23 GB(23010 MB)
- Inference 所需時間:約輸出影片時長的 4.5 倍
| 實驗 | 影格數量 | 輸出影片時長 | 解析度 | 輸出所需時間 | 最大 CPU 記憶體用量 |
|---|---|---|---|---|---|
| 1 | 30 | 2 | 1920x1080 | 11.36 | 148 |
| 2 | 300 | 20 | 1920x1080 | 90.67 | 1009 |
| 3 | 900 | 60 | 1920x1080 | 286.30 | 2887 |
| 4 | 30 | 2 | 560x700 | 10.25 | 143 |
| 5 | 300 | 20 | 560x700 | 80.30 | 996 |
| 6 | 900 | 60 | 560x700 | 236.94 | 2883 |
- 在 host 上安裝 Docker and NVIDIA Container Toolkit 以使用 GPU-enabled docker.
- 如果欲使用 CUDA 和 GPU,確認 host 的 CUDA driver 是否支援 CUDA 11.1,如果不支援,可以使用較低版本的 CUDA image,另外修改安裝的 torch 版本,Few-shot vid2vid 含有需要自行編譯的 module,需要 torch 編譯的 CUDA 版本和容器 CUDA 版本一致。
- Build the image with
docker build -t fs-vid2vid . - Run the container with
docker run -it --gpus all fs-vid2vid /bin/bash
- Run the container with
docker run -it -p 8888:8888 --gpus all fs-vid2vid /bin/bash - Inside the container
/srcdirectory, runjupyter notebook --ip 0.0.0.0 --no-browser --allow-root - Access notebook on the host machine with the url:
localhost:8888/tree - You will be prompted to enter a token, which is available in the container logs after the notebook kernel is started.
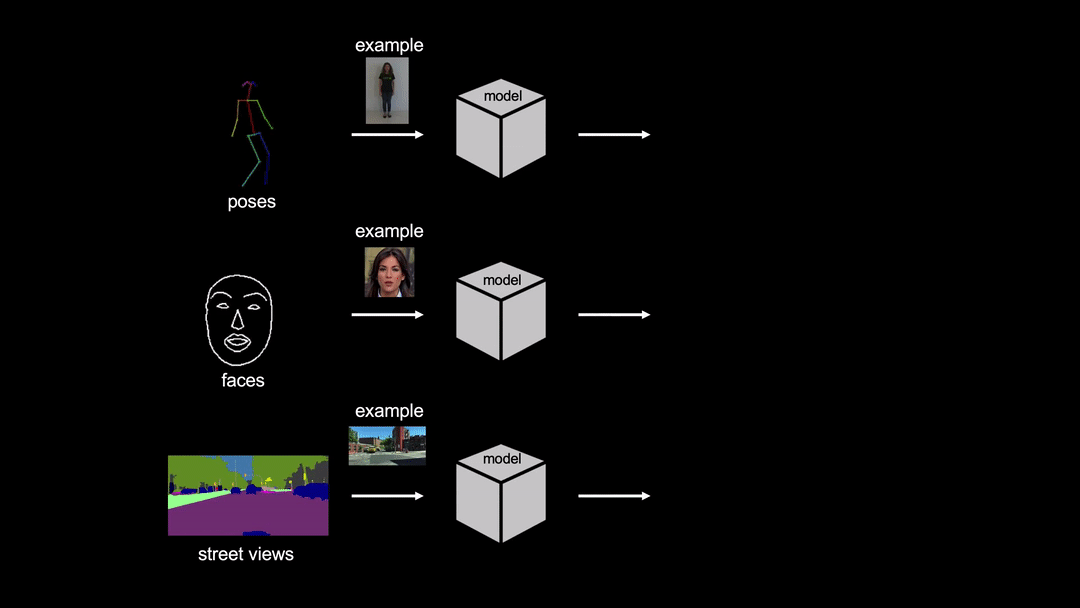
論文使用 FaceForensics 資料集,並用 dlib 偵測臉部標記點去計算人臉範圍和邊框。
將目前所在路徑移至 /src。
下載官方提供的測試資料
python download_test_data.py --model_name fs_vid2vid
將欲使用的影片放入 projects/fs_vid2vid/data/driving/videos
- 執行
python video_to_frames.py -i projects/fs_vid2vid/data/driving/video/00000.mp4 -o projects/fs_vid2vid/data/driving/images/00000
- 執行
python facial_landmarks.py -i projects/fs_vid2vid/data/driving/images/00000 -o projects/fs_vid2vid/data/driving/landmarks-dlib68/00000
- 將檔案名替換以處理其他資料
data
└───images
└───landmarks-dlib68
└───videos
    └───00000.mp4
    └───00001.mp4
    └───00002.mp4
- 將上面寫入
/images和/landmarks-dlib68的測試資料放入projects/fs_vid2vid/test_data/faceForensics/driving:
faceForensics
└───reference
    ...
└───driving
    └───images
        └───00000
            └───000001.jpg
            └───000002.jpg
            ...
        └───00001
            └───000001.jpg
            └───000002.jpg
            ...
        ...
    └───landmarks-dlib68
        └───00000
            └───000001.json
            └───000002.json
            ...
        └───00001
            └───000001.json
            └───000002.json
            ...
        ...
- 將欲轉移的人臉檔案放入
projects/fs_vid2vid/test_data/faceForensics/reference。
比照上方處理 driving video 的流程,取得 reference image(e.g. 00000.jpg)的臉部標記(e.g. 00000.json),放入 /reference 內(只能放入一組):
faceForensics
└───reference
    └───images
        └───00000.jpg
    └───landmarks-dlib68
        └───00000.json
└───driving
     ...
- 模型預測 (in
/src)python inference.py --single_gpu --num_workers 0 \ --config configs/projects/fs_vid2vid/face_forensics/ampO1.yaml \ --output_dir projects/fs_vid2vid/output/face_forensics
Few-shot vid2vid 及其他 Imaginaire 模型只能用於非商業用途,即研究或測試用途,此用途規範下可以複製、重現、延伸、分享。Nvidia 及其相關單位保有使用任何從 Imaginaire 延伸產生的作品及專案的權利且能使用其於商業用途。
Imaginaire is released under NVIDIA Software license. For commercial use, please consult [email protected]