


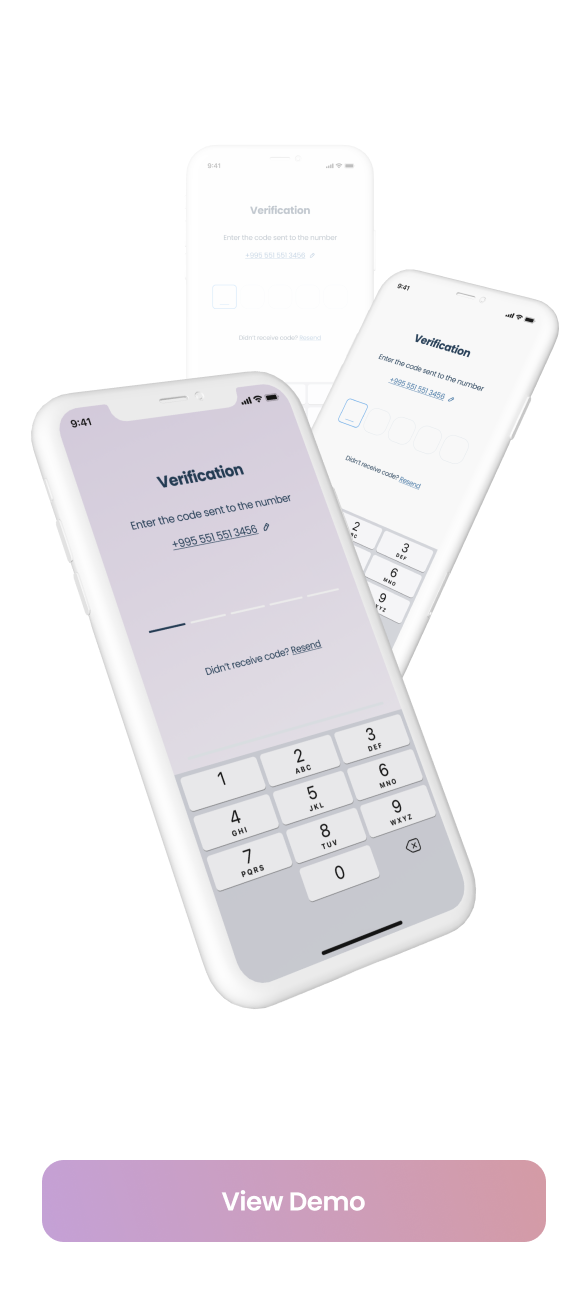
Flutter Pinput is a package that provides an easy-to-use and customizable Pin code input field. It offers several features such as animated decoration switching, form validation, SMS autofill, custom cursor, copying from clipboard, and more. It also provides beautiful examples that you can choose from.
- Animated Decoration Switching
- Form validation
- SMS Autofill on iOS
- SMS Autofill on Android
- Standard Cursor
- Custom Cursor
- Cursor Animation
- Copy From Clipboard
- Ready For Custom Keyboard
- Standard Paste option
- Obscuring Character
- Obscuring Widget
- Haptic Feedback
- Close Keyboard After Completion
- Beautiful Examples
PRs Welcome
Discord Channel
Examples app on Github has multiple templates to choose from
Don't forget to give it a star ⭐
| Live Demo | Rounded With Shadows | Rounded With Cursor |
|---|---|---|
 |
 |
 |
| Rounded Filled | With Bottom Cursor | Filled |
|---|---|---|
 |
 |
 |
The pin has 6 states default focused, submitted, following, disabled, error, you can customize each state by specifying theme parameter.
Pin smoothly animates from one state to another automatically.
PinTheme Class
| Property | Default/Type |
|---|---|
| width | 56.0 |
| height | 60.0 |
| textStyle | TextStyle() |
| margin | EdgeInsetsGeometry |
| padding | EdgeInsetsGeometry |
| constraints | BoxConstraints |
You can use standard Pinput like so
Widget buildPinPut() {
  return Pinput(
    onCompleted: (pin) => print(pin),
  );
}
If you want to customize it, create defaultPinTheme first.
final defaultPinTheme = PinTheme(
  width: 56,
  height: 56,
  textStyle: TextStyle(fontSize: 20, color: Color.fromRGBO(30, 60, 87, 1), fontWeight: FontWeight.w600),
  decoration: BoxDecoration(
    border: Border.all(color: Color.fromRGBO(234, 239, 243, 1)),
    borderRadius: BorderRadius.circular(20),
  ),
);
if you want all pins to be the same don't pass other theme parameters,
If not, create focusedPinTheme, submittedPinTheme, followingPinTheme, errorPinTheme from defaultPinTheme
final focusedPinTheme = defaultPinTheme.copyDecorationWith(
  border: Border.all(color: Color.fromRGBO(114, 178, 238, 1)),
  borderRadius: BorderRadius.circular(8),
);

final submittedPinTheme = defaultPinTheme.copyWith(
  decoration: defaultPinTheme.decoration.copyWith(
    color: Color.fromRGBO(234, 239, 243, 1),
  ),
);
Put everything together
final defaultPinTheme = PinTheme(
  width: 56,
  height: 56,
  textStyle: TextStyle(fontSize: 20, color: Color.fromRGBO(30, 60, 87, 1), fontWeight: FontWeight.w600),
  decoration: BoxDecoration(
    border: Border.all(color: Color.fromRGBO(234, 239, 243, 1)),
    borderRadius: BorderRadius.circular(20),
  ),
);

final focusedPinTheme = defaultPinTheme.copyDecorationWith(
  border: Border.all(color: Color.fromRGBO(114, 178, 238, 1)),
  borderRadius: BorderRadius.circular(8),
);

final submittedPinTheme = defaultPinTheme.copyWith(
  decoration: defaultPinTheme.decoration.copyWith(
    color: Color.fromRGBO(234, 239, 243, 1),
  ),
);

return Pinput(
defaultPinTheme: defaultPinTheme,
focusedPinTheme: focusedPinTheme,
submittedPinTheme: submittedPinTheme,
validator: (s) {
return s == '2222' ? null : 'Pin is incorrect';
},
pinputAutovalidateMode: PinputAutovalidateMode.onSubmit,
showCursor: true,
onCompleted: (pin) => print(pin),
);Works out of the box, by tapping the code on top of the keyboard
If you are using firebase_auth you have to set controller's value in verificationCompleted callback, here is an example code:
    Pinput(
      controller: pinController,
    );
And set pinController's value in verificationCompleted callback:
    await FirebaseAuth.instance.verifyPhoneNumber(
      verificationCompleted: (PhoneAuthCredential credential) {
        pinController.setText(credential.smsCode);
      },
      verificationFailed: (FirebaseAuthException e) {},
      codeSent: (String verificationId, int? resendToken) {},
      codeAutoRetrievalTimeout: (String verificationId) {},
    );
If you aren't using firebase_auth, you have two options, SMS Retriever API and SMS User Consent API,
SmartAuth is a wrapper package for Flutter for these APIs, so go ahead and add it as a dependency.
To use Retriever API you need the App signature - guide
Note that The App Signature might be different for debug and release mode
Once you get the app signature, you should include it in the SMS message in you backend like so:
SMS example:
Your ExampleApp code is: 123456
kg+TZ3A5qzS
Sms code will be automatically applied, without user interaction.
You don't need the App signature, the user will be prompted to confirm reading the message Example Code

See Example app for more templates
/// Create Controller
final pinController = TextEditingController();

/// Set text programmatically
pinController.setText('1222');

/// Append typed character, useful if you are using custom keyboard
pinController.append('1', 4);

/// Delete last character
pinController.delete();

/// Don't call setText, append, delete in build method, this is just illustration.

return Pinput(
  controller: pinController,
); /// Create FocusNode
final pinputFocusNode = FocusNode();
/// Focus pinput
pinputFocusNode.requestFocus();
/// UnFocus pinput
pinputFocusNode.unfocus();
/// Don't call requestFocus, unfocus in build method, this is just illustration.
return Pinput(
focusNode: pinputFocusNode,
); /// Create key
final formKey = GlobalKey<FormState>();
/// Validate manually
/// Don't call validate in build method, this is just illustration.
formKey.currentState!.validate();
return Form(
key: formKey,
child: Pinput(
// Without Validator
// If true error state will be applied no matter what validator returns
forceErrorState: true,
// Text will be displayed under the Pinput
errorText: 'Error',
/// ------------
/// With Validator
/// Auto validate after user tap on keyboard done button, or completes Pinput
pinputAutovalidateMode: PinputAutovalidateMode.onSubmit,
validator: (pin) {
if (pin == '2224') return null;
/// Text will be displayed under the Pinput
return 'Pin is incorrect';
},
),
);- Make sure you are using real device, not simulator
- Temporary replace Pinput with TextField, and check if autofill works. If, not it's probably a problem with SMS you are getting, autofill doesn't work with most of the languages
- If you are using non stable version of Flutter that might be cause because something might be broken inside the Framework
You should set controller's value in verificationCompleted callback, here is an example code:
    Pinput(
      controller: pinController,
    );

    await FirebaseAuth.instance.verifyPhoneNumber(
      verificationCompleted: (PhoneAuthCredential credential) {
        pinController.setText(credential.smsCode);
      },
      verificationFailed: (FirebaseAuthException e) {},
      codeSent: (String verificationId, int? resendToken) {},
      codeAutoRetrievalTimeout: (String verificationId) {},
    );