The goal of this tool is to provide the URL shortner service when hosted. User can configure the short url against the full URL in the mapping.json file. When request is received against the key, then the application will redirect the request to the configured webiste.
Please follow the step-by-step installation and hosting instructions.
- NodeJS
- Express, Express Router
- Lodash
- Body-Parser
- Mongoose, MongoDB
- Jasmine
- Request
- Clone the application from the Git repository https://github.com/Sheshadrinath/url-shortner.git
- Make sure you have installed nodejs. If not, please install NodeJs from https://nodejs.org/. You may install the latest and stable version.
- Once you extract the code after downloading from the above git repository, please find the file mapping.json inside src folder inside server folder. Update your mappings as necessary.
- After cloing this repository, open NodeJs command prompt (Windows) or terminal (Mac) and navigate to this folder until you see folder src
- Enter command
npm install. This command will install all necessary packages - After successful installation of node packages, in the command prompt or terminal, please enter the command
node app.jsto start the server. - Install MongoDB. Refer to the next section to install MongoDB
- From the browser's URL enter the address http://localhost:3000?q=google for testing. Please note that we are using the port 3000 in app.js file. Please change the port in app.js file if required to any necessary number.
- If the mapping is not available from the static or configured list, then error 404 is thrown back to user.
- Please install MongoDb from URL: https://www.mongodb.com/download-center?jmp=nav
- Download the installer based on your operating system.
- Once downloaded, please install using the installer.
- For Windows:
- Once installed, please create a folder C:\data\db
- Open command prompt and navigate to folder C:\Program Files\MongoDB\Server\3.x\bin
- Select mongod.exe to start the MongoDB
- For Mac:
- Check if you have installed
brewin your mac. - If
brewdoesnot exist install the same by entering the command in the terminal/usr/bin/ruby -e "$(curl -fsSL https://raw.githubusercontent.com/Homebrew/install/master/install)" - Once
brewis installed, enter the next commandbrew install mongodbin the terminal - After successful installation create data/db folder by entering the command
mkdir -p /data/db. If you receive access or permission related issues usesudocommand. - Now enter the command
mongodin the terminal to start MongoDB server. In the terminal you should also see a message saying[initandlisten] waiting for connections on port 27017.
- Check if you have installed
Make sure the services are running without any errors. You can create, edit or delete mappings using the client application provided or by using the Postman API tools.
Enter the address http://<hostname>:<port>/mapping/add. Select POST method. In the body enter like below and select JSON(application/json). JSON data must have at least value, else 400 error is thrown.
{
	"key": "key",
	"value": "<url>",
	"expiry": "<expiry>"
}- While adding a mapping, if there is a mapping already either by key or by value, then the existing item is returned.
- While adding a mapping, if the expiry date is mentioned and if it is older than current date time, then error thrown with status code 400.
- While adding a mapping, if the value is not present in the JSON data, then error 400 is thrown.

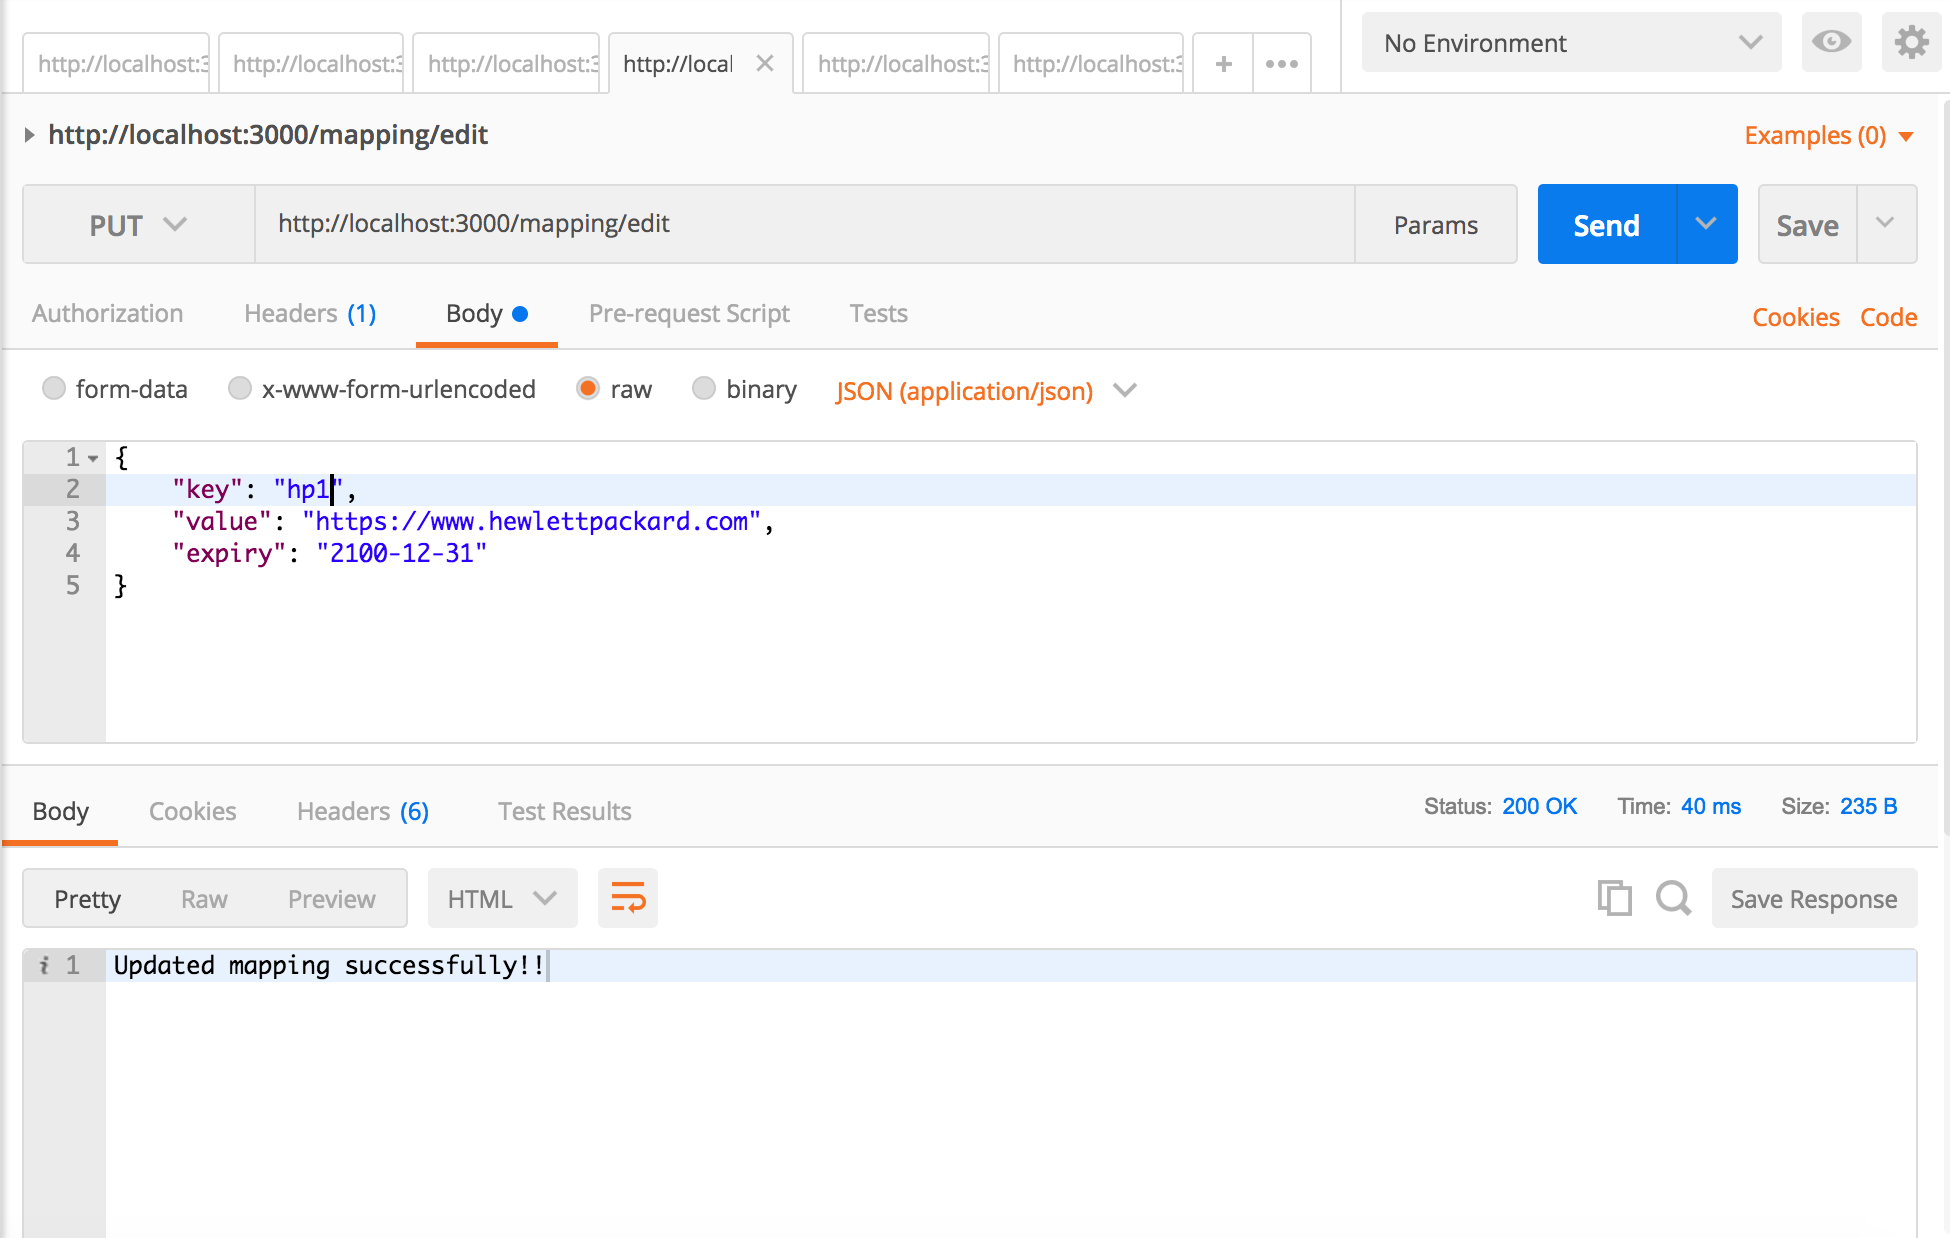
Enter the address http://<hostname>:<port>/mapping/edit. Select PUT method. In the body enter like below and select JSON(application/json). JSON data must have at least value, else 400 error is thrown.
{
	"key": "key",
	"value": "<url>",
	"expiry": "<expiry>"
}- While adding a mapping, if the expiry date is mentioned and if it is older than current date time, then error thrown with status code 400.
- While adding a mapping, if the value is not present in the JSON data, then error 400 is thrown.
Enter the address http://<hostname>:<port>/mapping/<key>. Select DELETE method.

Enter the address http://<hostname>:<port>/url/urls. Select GET method. This should return all existing mappings.
Enter the address http://<hostname>:<port>/url/<key>. Select GET method. This should return existing mapping.
Once the mapping is done, make sure the service is up and running. Open the browser and enter the URL with mapping. For example: http://<hostname>:<port>/<key>. This should redirect the client to the respective configured URL. If the mapping is not found or if the mapping is expired, then error 404 (Page Not found) is displayed to user.
Each successful redirection is audited. Requestor IP address, used URL and requested date/time is stored in this audit. Data is stored in the AuditLog collection
This is about to come. Development is in progress.
This section explains about the unit test cases written in Jasmine
- Navigate to the
src/serverfolder in the command prompt (Windows) or terminal (Mac). - Run command
npm run testto start executing all test cases and shows result. Please remember that while running these test cases the actual services are not running, since these tests also starts the server. So it will create conflicts if the server is already running.
Currently this application uses the static mapping as you can see in the mapping.json file. But in coming days, we will be providing support to:
- Unit test cases will be added.
- To add mapping by providing the user interface where user can add/edit/remove mappings. This will avoid user to manipulate the JSON mapping file manually.
- We will also provide support to fetch the mappings from cache server (both internal or external) too if configured.
- Time-based mappings