In this Repo, I will try to dockerize a sample Node JS-todo Application using Dockerfile, create a docker image and run a container based on that docker image and also will push that docker Image to Amazon Elastic Conatiner Registry(E.C.R) for scanning the vulnerabilities.
Prerequisites:
-> An AWS account with EC2 and ECR access.
-
First Find a sample NodeJS app source code available on opensource or you can fork this repo and use this.
-
After Writing/Finding a Sample Node JS application, Try to run it locally on your laptop by installing Node and npm by using following commands.
sudo apt install nodejs
sudo apt install npm
npm install
node app.js
- You can also skip the second step if you want to use docker.
-
Create an EC2 Virtual machine of any type like Ubuntu, CentOS.. and Install Git and Docker on it using suitable commands like yum or apt-get based on your type of EC2 instance.
-
After installation, Clone this repo using the following command.
git clone https://github.com/AnilKumar-Noolu/NodeJS-todo-app.git
- After the repo is cloned, type
lscommand to view the Repo that is downloaded locally on your EC2 machine.
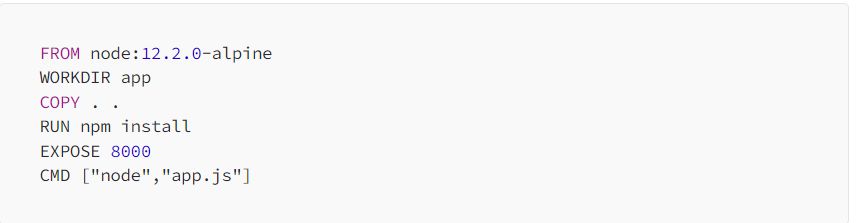
- Create your Dockerfile for the above NodeJS Appliocation. In Dockerfile, we are exposing this NodeJS todo application on Port: 8000.
- Now build this Dockerfile using the build command.
docker build -t nodejs-todo .
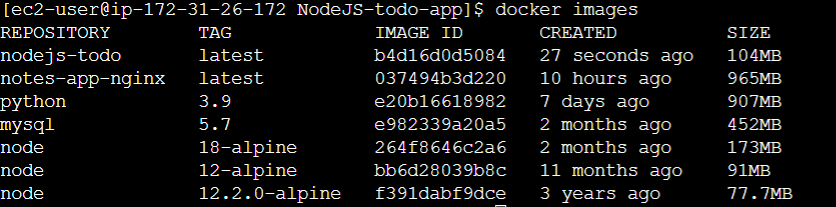
- On Successfully building this Dockerfile, you can view the images created successfully using the command.
docker images
- Once, you verified that the image is successfully created, Now create a Container to run the application using the following command.
docker run -d -p 8000:8000 nodejs-todo:latest
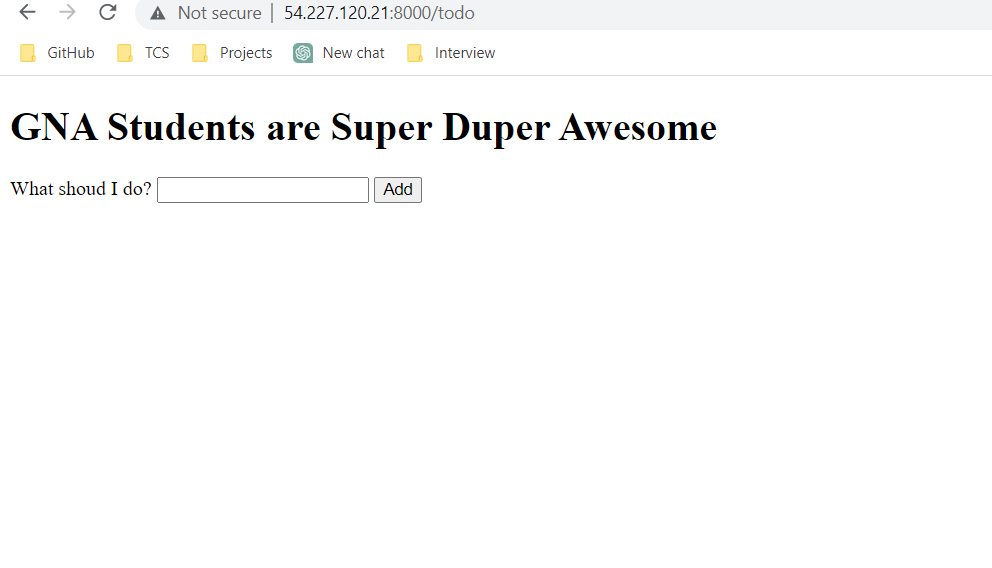
- Here, we are exposing our NodeJS Application to the Outside World using 8000 Port. Enter the docker ps to know the status of the running Container.

- Now Check the browser by pasting the <Public_IP_address:8080> You can see that the application is running on your Browser.
-
Now Since the Container is running fine, we can store the Docker Image to Repository and can use it when we really need it. For that we can use DockerHub, Amazon ECR, Jfrog Artifactory etc..
-
Now, we will see how we will push that image to DockerHub.
-
Firstly create an account in DockerHub using email and Password.
-
Login to the DockerHub inside your instance using username and password with following command.
docker login

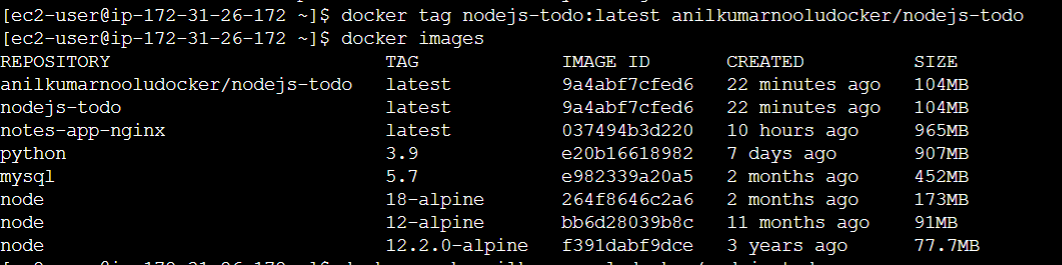
- Then you need to Tag that image first before pushing it to the DockerHub. Tag that Image using the following command.
docker tag nodejs-todo:latest <your_dockerhub_username>/nodejs-todo:latest
- Once the tagging is done, Then Push it to the DockerHub Using the following command:
docker push <your_dockerhub_username>/nodejs-todo:latest
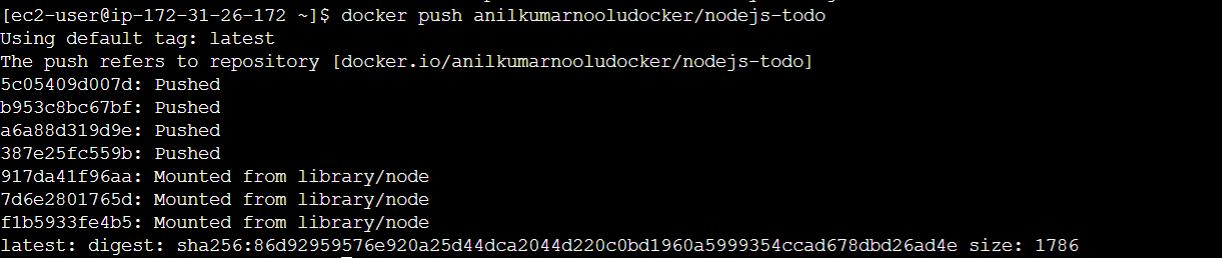
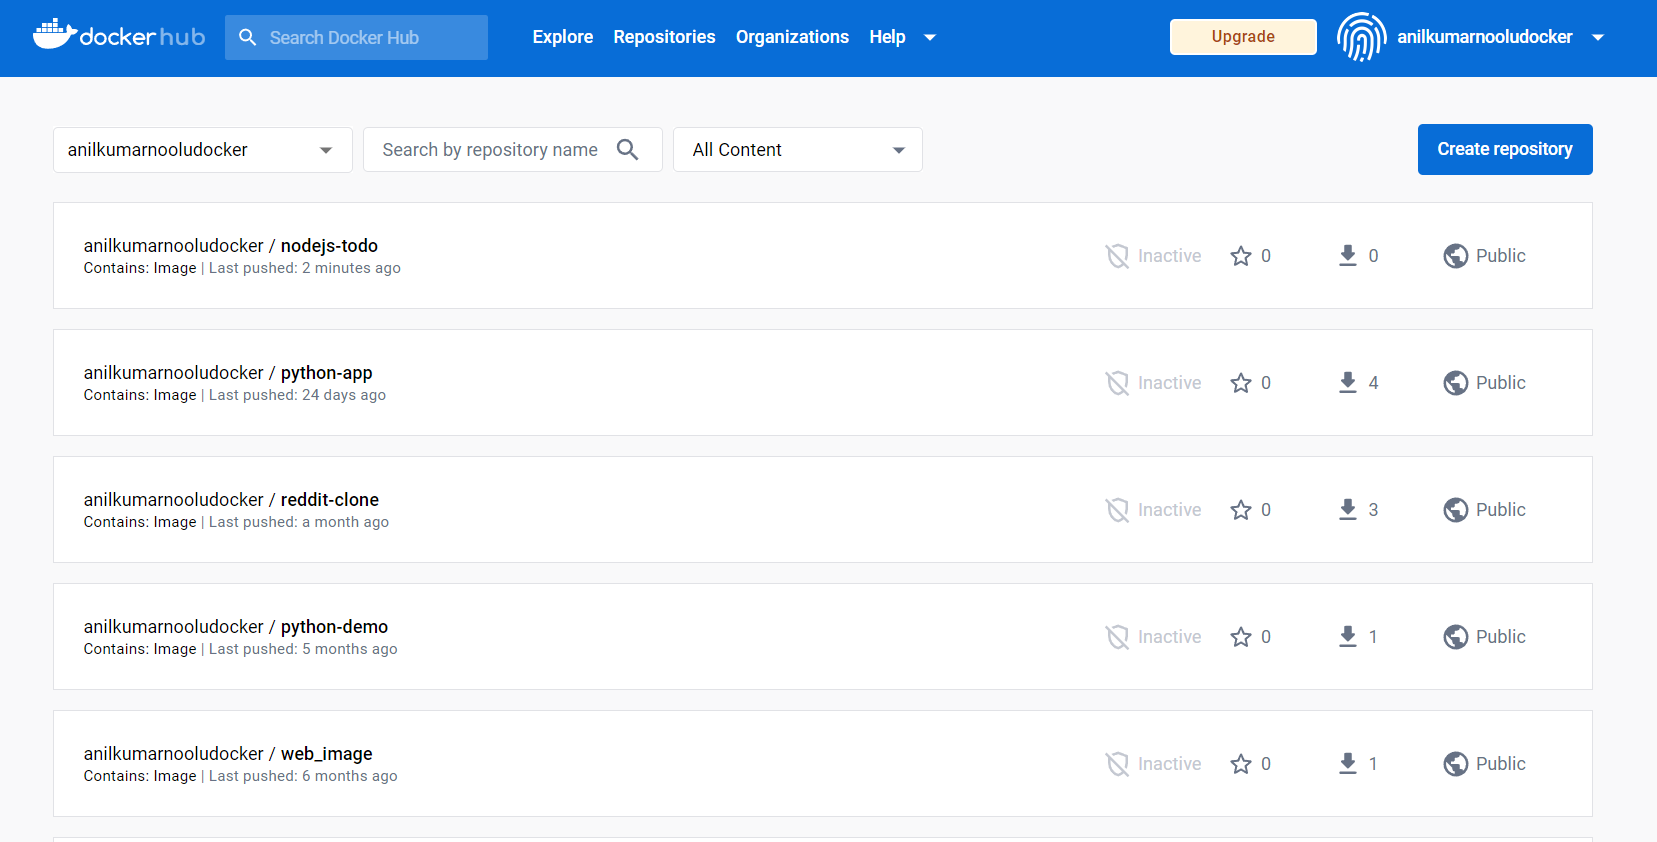
- After few seconds, you can see that the Image you tagged is successfully pushed to your DockerHub Account.
-
Open the ECR Console.
-
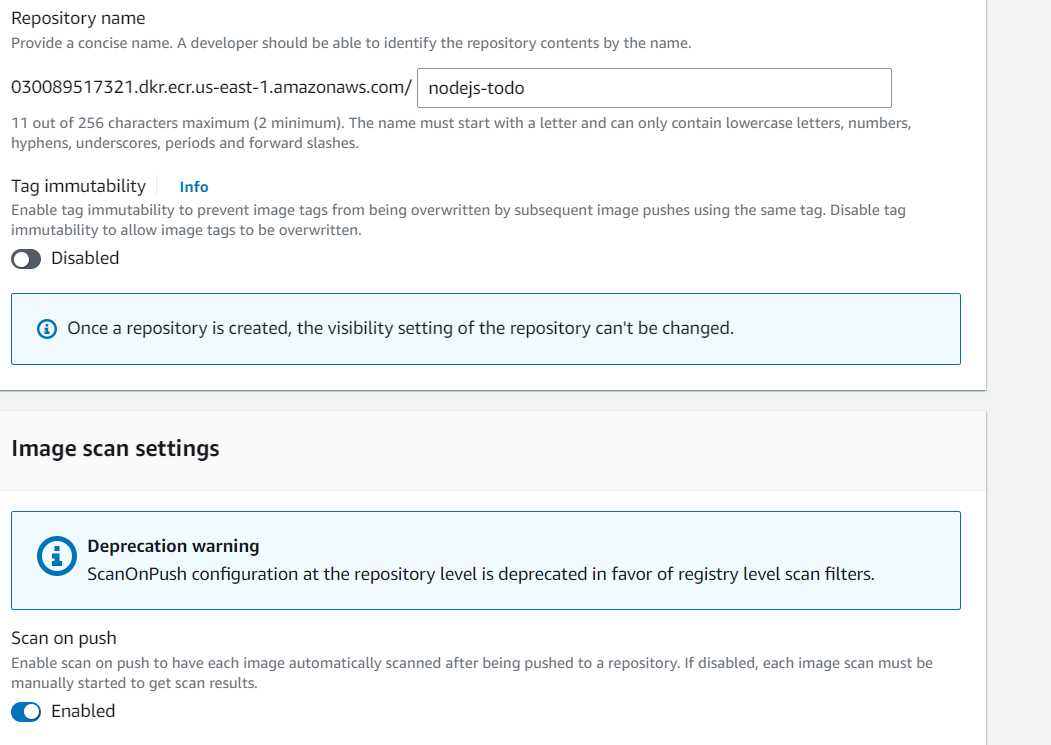
Click on "Create repository"
-
Enter a name for your repository, select pribvate access and Check for Scan on Push Option and click "Create repository"
-
Open the AWS CLI on your local machine
-
Run the following command to authenticate your Docker client with ECR:
aws ecr get-login-password | docker login --username AWS --password-stdin <your-account-id>.dkr.ecr.<region>.amazonaws.com
Replace and with your actual values

- Run the following command to tag your Docker image:
docker tag <image-name>:<tag> <your-account-id>.dkr.ecr.<region>.amazonaws.com/<repository-name>:<tag>
Replace , , , and with your actual values
- Verify that the tag has been applied to your Docker image by running docker images

- Run the following command to push your Docker image to ECR:
docker push <your-account-id>.dkr.ecr.<region>.amazonaws.com/<repository-name>:<tag>
Replace , , and with your actual values

- Wait for the push to complete and verify that your Docker image is now in your ECR repository by refreshing the ECR Console.
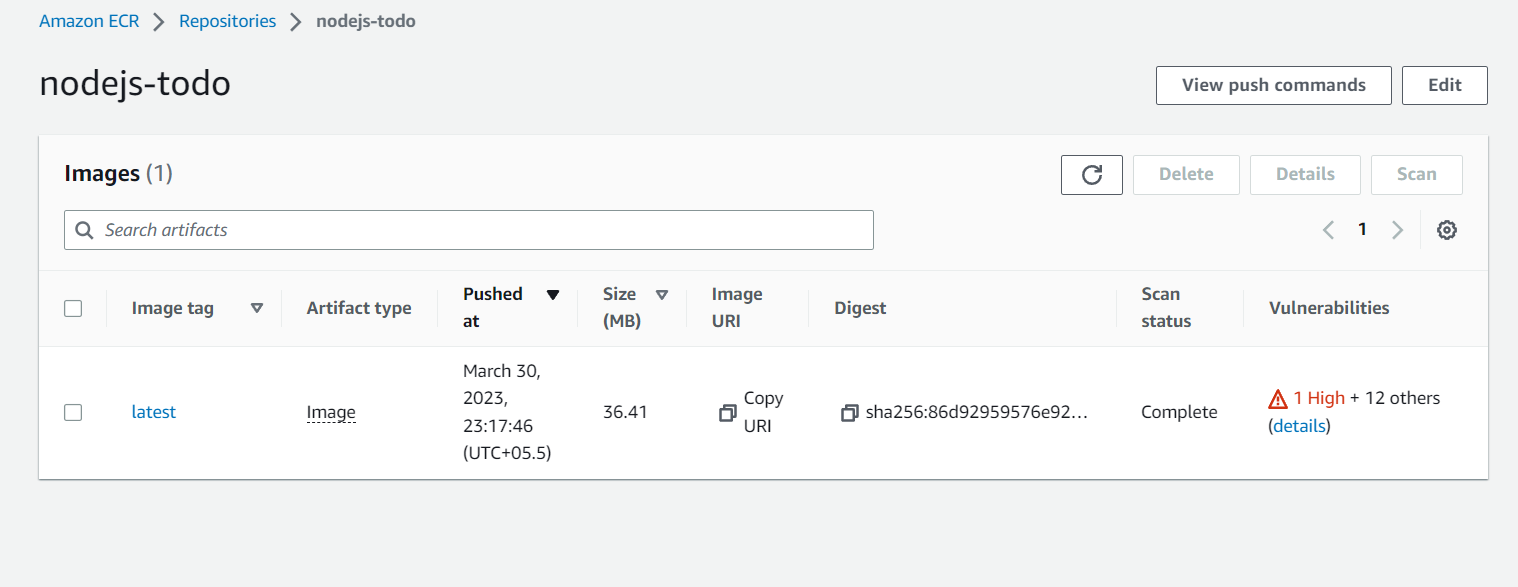
- You can also see the Vulnerabilities Present in that Image which are classified as HIGH, MEDIUM, LOW and you can take steps later to eliminate that vulnerabilities.