使用keras实现性别识别,模型数据使用的是oarriaga/face_classification的模型,下文给出项目地址。
- Windows 10
- Python 3.6.4
- keras 2.1.6
- tensorflow 1.8.0
在开始之前先要安装keras和tensorflow,在安装模块之前先要把pip的数据源换成国内的,这样能大大提高安装速度。
点击查看:pip/pip3更换国内源
OpenCV添加文字默认情况是乱码的,需要手动转换一下,点击查看:OpenCV添加中文
安装keras使用命令:pip3 install keras
安装tensorflow使用命令:pip3 install tensorflow
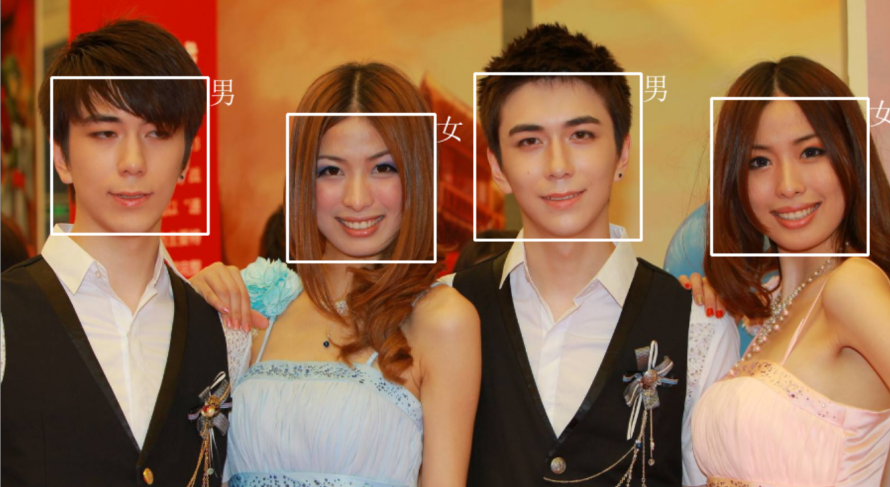
结合之前图片人脸检测(OpenCV版)的项目,我们使用OpenCV先识别到人脸,然后在通过keras识别性别,具体代码如下:
#coding=utf-8
#性别识别

import cv2
from keras.models import load_model
import numpy as np
import ChineseText

img = cv2.imread("img/gather.png")
face_classifier = cv2.CascadeClassifier(
    "C:\Python36\Lib\site-packages\opencv-master\data\haarcascades\haarcascade_frontalface_default.xml"
)
gray = cv2.cvtColor(img, cv2.COLOR_BGR2GRAY)
faces = face_classifier.detectMultiScale(
    gray, scaleFactor=1.2, minNeighbors=3, minSize=(140, 140))

gender_classifier = load_model(
    "classifier/gender_models/simple_CNN.81-0.96.hdf5")
gender_labels = {0: '女', 1: '男'}
color = (255, 255, 255)

for (x, y, w, h) in faces:
    face = img[(y - 60):(y + h + 60), (x - 30):(x + w + 30)]
    face = cv2.resize(face, (48, 48))
    face = np.expand_dims(face, 0)
    face = face / 255.0
    gender_label_arg = np.argmax(gender_classifier.predict(face))
    gender = gender_labels[gender_label_arg]
    cv2.rectangle(img, (x, y), (x + h, y + w), color, 2)
    img = ChineseText.cv2ImgAddText(img, gender, x + h, y, color, 30)

cv2.imshow("Image", img)
cv2.waitKey(0)
cv2.destroyAllWindows()
更多信息:
oarriaga/face_classification项目地址:https://github.com/oarriaga/face_classification