Firstly, thumbs up👍🏻 for choosing to join the rank of open source contribution. Additionally, we greatly appreciate you choosing to participate in the VisActor community and contributing to this open source project.
The VisActor team usually develops and maintains issues on Github. Please open the Github website, click the Sign up button in the upper right corner, register an account of your own, and start the first step of your open source journey.
If for some reason you can't open the Github site, you can still work on the project through Gitee.
In the VMind repository, we have a guide for all open source contributors that introduces version management, branch management, etc. Please take a few minutes to read and understand it.
Git is a version control system used to track and manage changes in code in software development projects. It helps developers record and manage the history of code, making it easy for team collaboration, code version control, merging code, and more. With Git, you can track each version of each file and easily switch between and compare different versions. Git also provides branch management, so you can perform multiple parallel development tasks at the same time.
- Visit the official Git website: https://git-scm.com/
- Download the latest version of Git installer.
- Run the downloaded installer and follow the installation wizard's instructions to install.
- After installation, you can use the
git versioncommand on the command line to confirm successful installation.

When using Git, you need to set your username and email address, as these will be used in every Git commit. Open the command line and input the following commands to set your Git username:
git config --global user.name "your_username"
git config --global user.email "[email protected]"
Please replace "your_username" and "[email protected]" with the username and email you want to use in Git.
- First, you need to fork this project. Go to the VMind project page, click the Fork button in the upper right corner.

- Your github account should now have a project named xxxx(your github username)/vmind.
- Use the following command on your local computer: you should get a VMind folder.
// ssh
git clone [email protected]:xxxx(your github username)/VMind.git
// https
git clone https://github.com/xxxx(your github username)/VMind.git
- Enter the VMind folder and add the VMind remote address
git remote add upstream https://github.com/VisActor/VMind.git
- Get the VMind latest source code
git pull upstream develop
- Now we can start contributing our code. VMind default branch is the develop branch. Whether it is feature development, bug fixes, or document writing, please create a new branch and merge it to the develop branch. Use the following code to create the branch:
// Create feature development branch
git checkout -b feat/xxxx

// Create problem-fixing development branch
git checkout -b fix/xxxx

// Create document/demo branch
git checkout -b docs/xxxx
- Now we can modify code on the branch
- Let's assume we have added some code and made a commit to the stage
- git commit -a -m "new commit"
- A common problem is that there is new update in the remote upstream(@visactor/vmind) which can cause conflicts when we push the Pull Request. So, before submission, we can merge the commits from other developers with our commits. Use the following code to switch to develop branch:
git checkout develop
- Use the following code to pull the latest code from remote:
git pull upstream develop
- Switch back to your own development branch:
git checkout docs/add-funnel-demo
- Merge the develop commit to branch1:
git rebase develop
- Push the update code to your own branch:
git push upstream docs/add-funnel-demo
You can click the New pull request button on your github repo page.

Follow the template to write down the content modified in this submission:
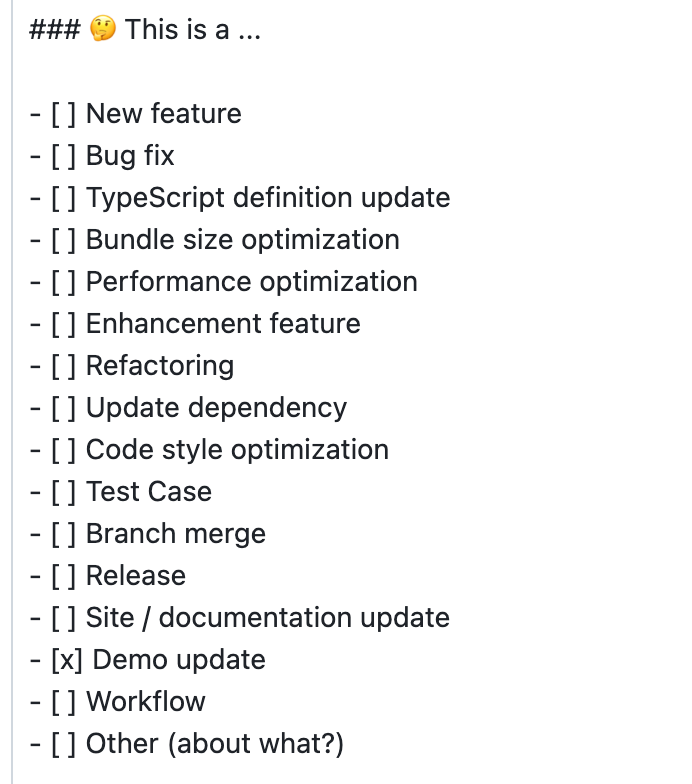
- Check what type of modification this is
- Fill in the related issue

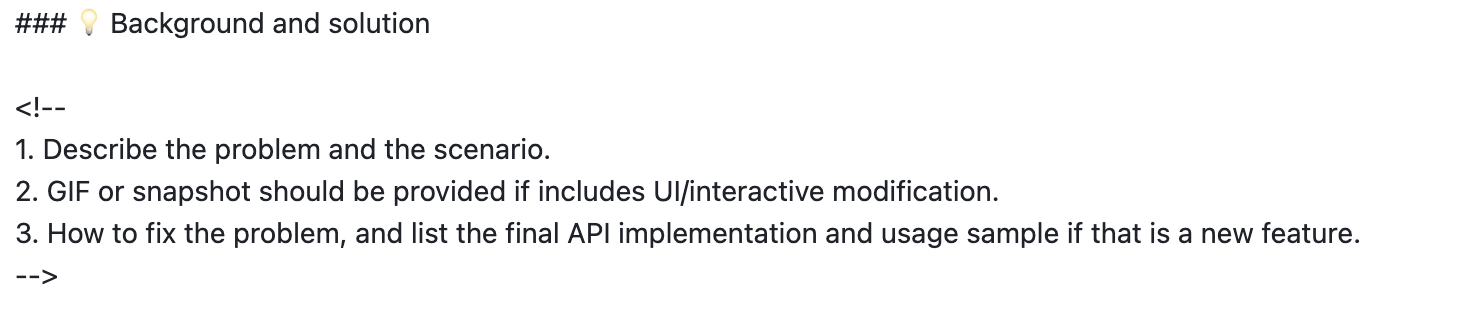
- If a complex change has been made, please provide background and solution
After completing all related information, click Create pull request to submit
"good first issue" is a common label in the open source community, aimed to help new contributors find ideal starter issues.
VMind's starter issues can be viewed on the issue list, which currently includes two types:
- Demo use case creation
- Simple function development
If you currently have time and are willing to contribute to the community, look at the good first issue in the issue list, and pick one that interests you and suits your abilities.
I believe you are a student who finishes what you start, so once you understand and decide to take on an issue, please leave a message under the issue to let everyone know.
We have prepared some simple and easy-to-master feature development tasks. If you have a basic understanding of Javascript/Typescript, you can take on this type of task.
You can learn more about VMind code architecture by implementing requirements. You can leave a message under the issue and discuss your plan with everyone.
- Based on the develop branch, pull a new
feat/***branch for development - (If you've already installed it, skip this step) Install @microsoft/rush globally:
npm i --global @microsoft/rush - Run
rush updatein the root directory - Run
rush startto test VMind code locally
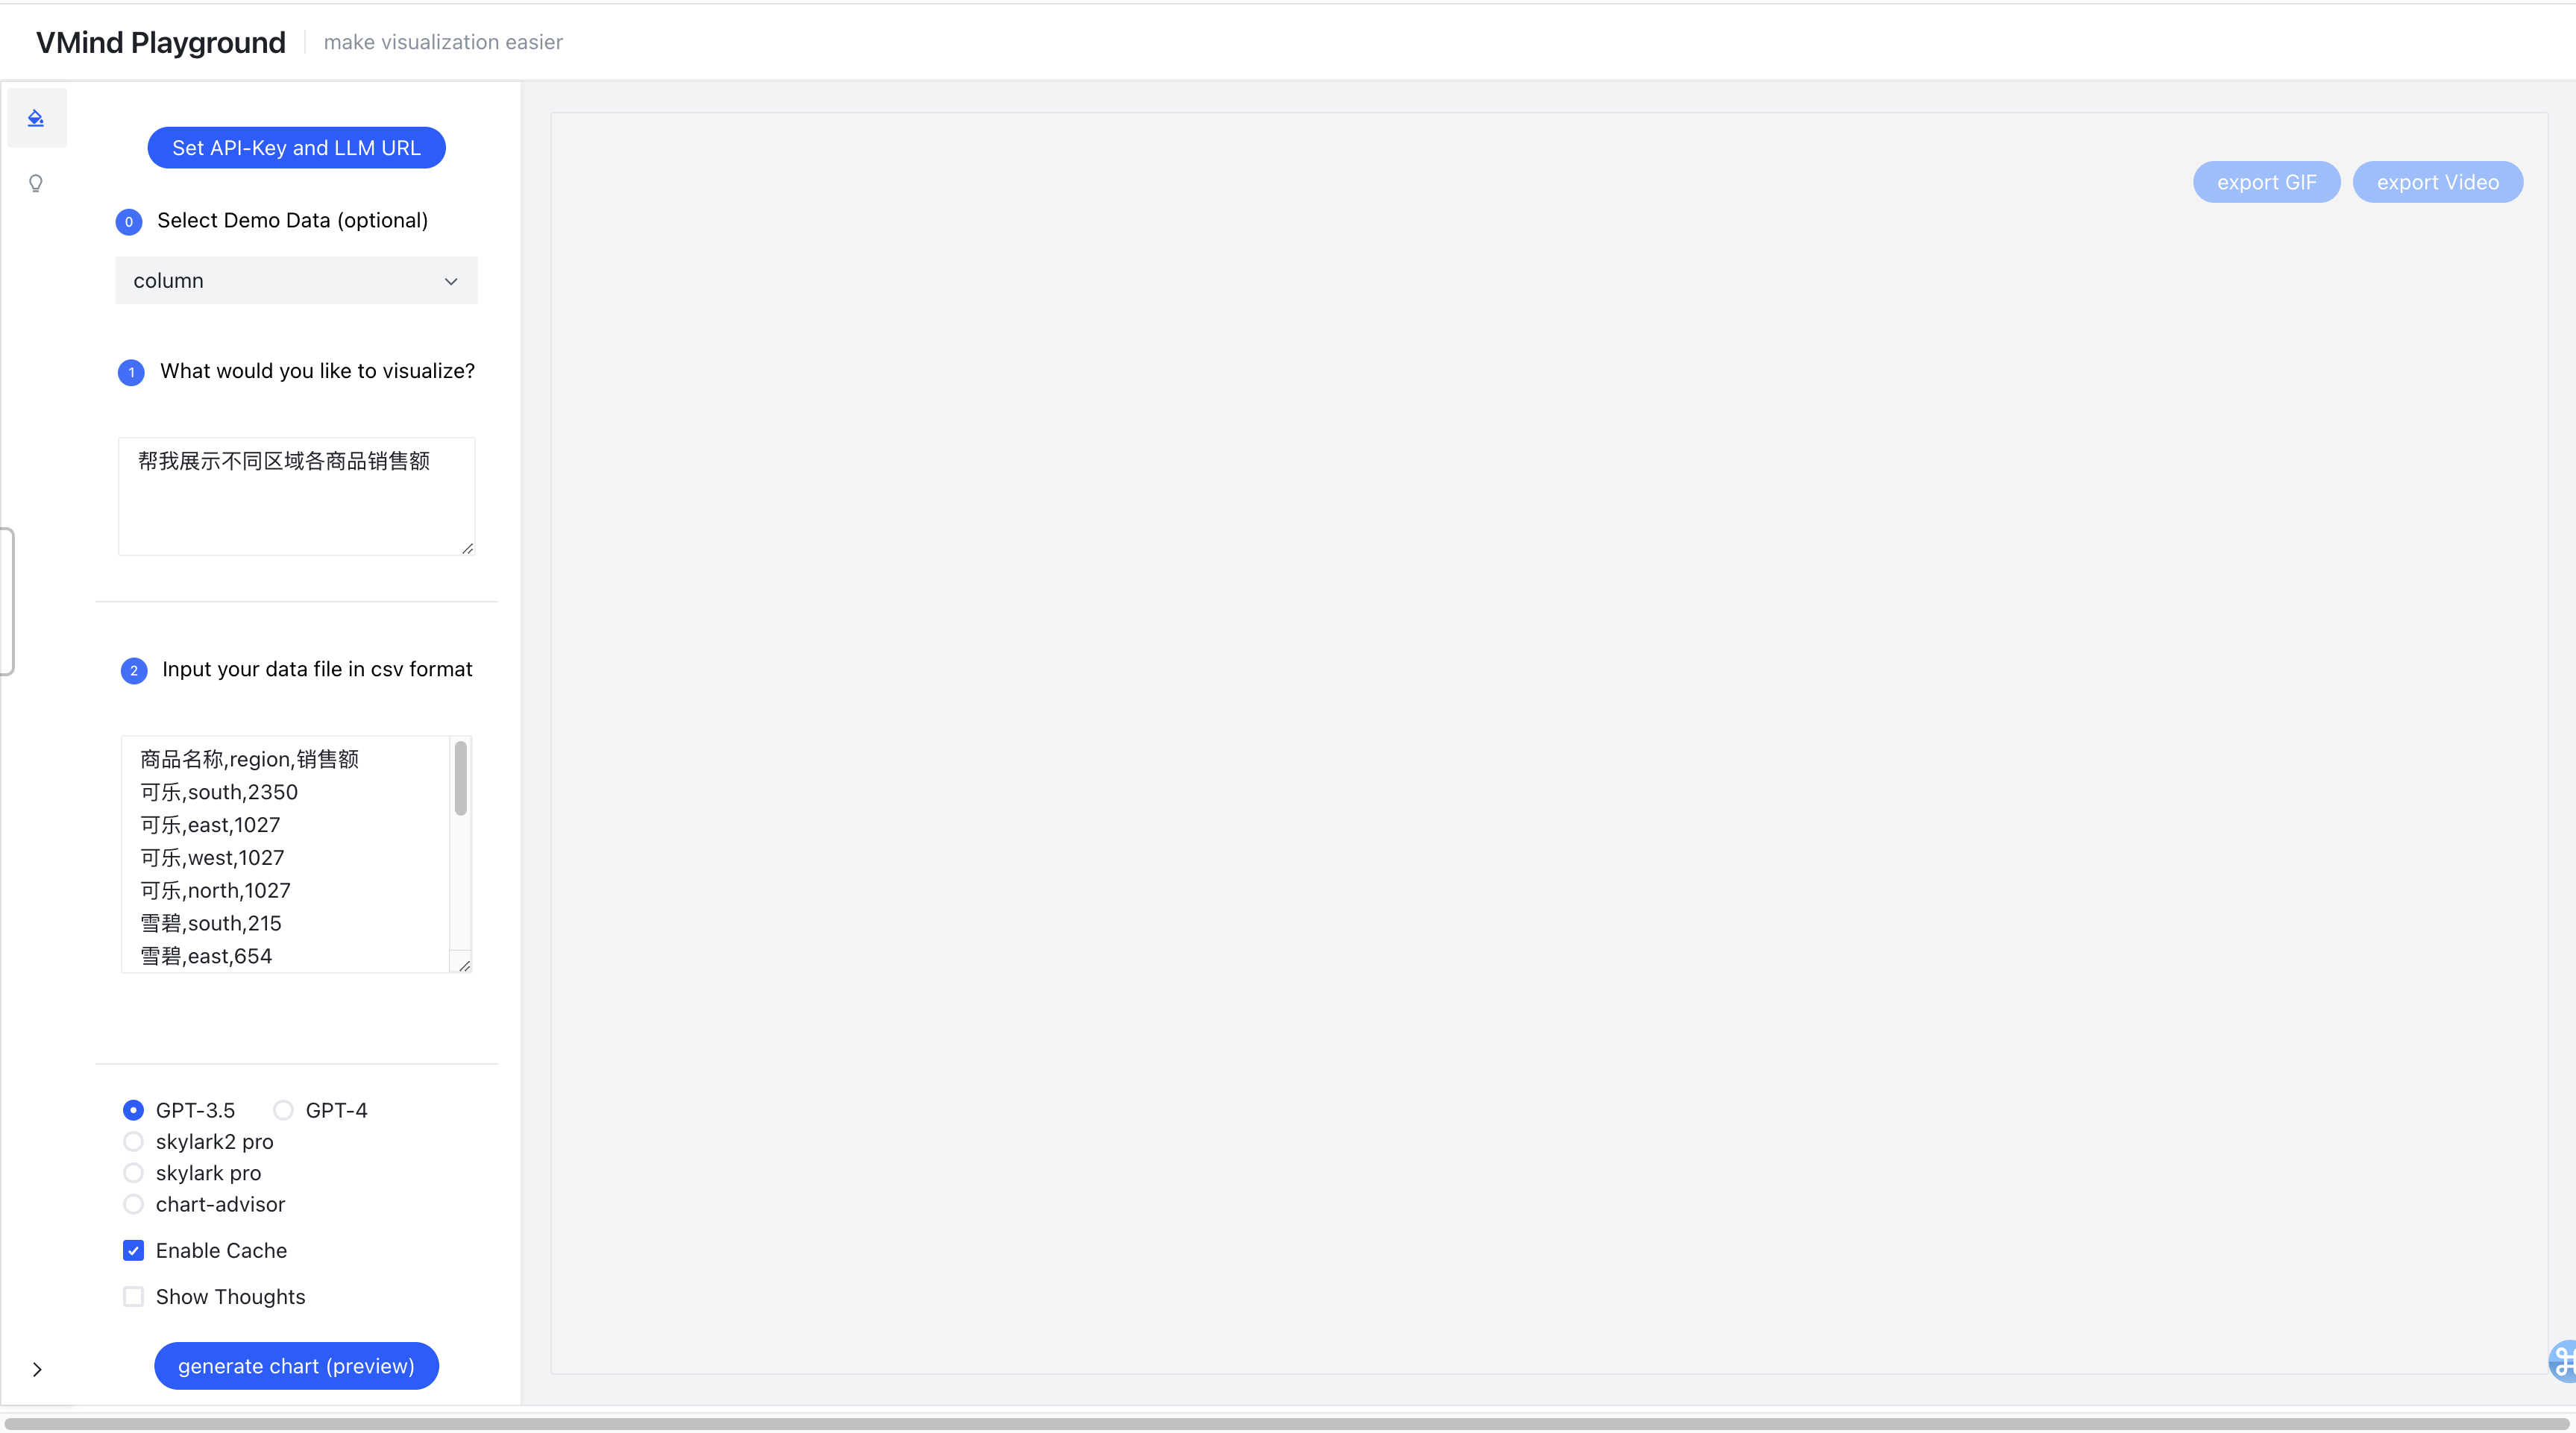
Click "Set API-Key and LLM URL" at top left corner to set LLM service url and key
- Confirm all tests pass
rush test - After completing development, run
rush changeto write changelog and submit changes - Commit all code, and create a Pull Request on Github, inviting others to review
In addition to contributing code to VIsActor, we encourage you to participate in other activities that help the community thrive, such as:
- Offering suggestions for project development, feature planning, and more
- Creating articles and videos, hosting lectures to promote VisActor
- Writing promotional plans and executing them with the team
VisActor is also working hard to help community builders grow together. We plan to (but are not limited to, and look forward to more suggestions from everyone) provide the following assistance:
- Data visualization development training based on VIsActor, to help participants quickly grow in programming skills, visualization theory, architecture design, and other aspects.
- Regularly selecting the "Code Contribution Award" and "Community Promotion Award"
- Organizing community members to participate in open-source activities